So what I have done here is put together a simple little tutorial to help explain the process of bringing in assets from 3ds Max into UDK.
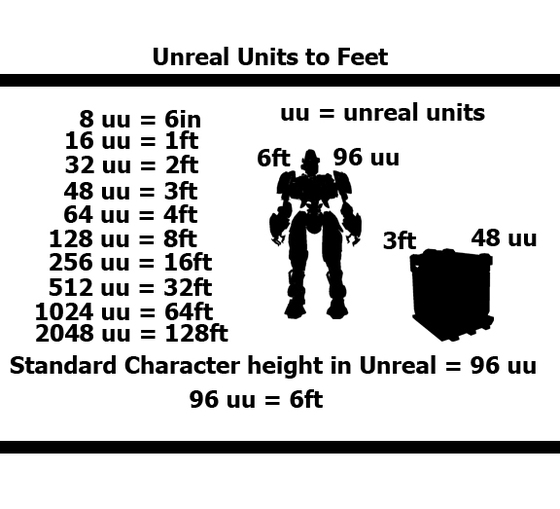
If you are modeling assets inside of 3ds Max it is important to build to the correct scale. Many people new to UDK import assets that are too small or too big. It is important to know Unreal Units as a level designer too. When you are trying to build say a death match map you want to area to be big enough to allow players to run around and take cover but not so big that there are prolonged moments of not seeing another player. We will get more into that later.
So lets say we want a small crate that is 2ft high. That would be 32 uu. Easy right? Well what if we want to make this crate 2.5ft? What we are going to do then is set the height of the box to 32 uu and add 8 units. 8 uu is equivalent to half a foot. So if we want to make the crate 3ft high we would need to add 16 units. So remember when you want to add a foot add 16 units. When you want to add half a foot add 8 units.
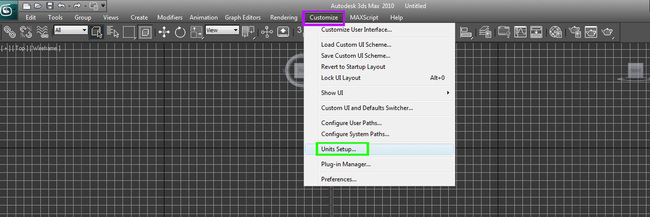
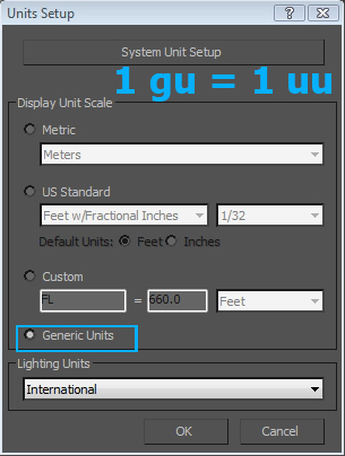
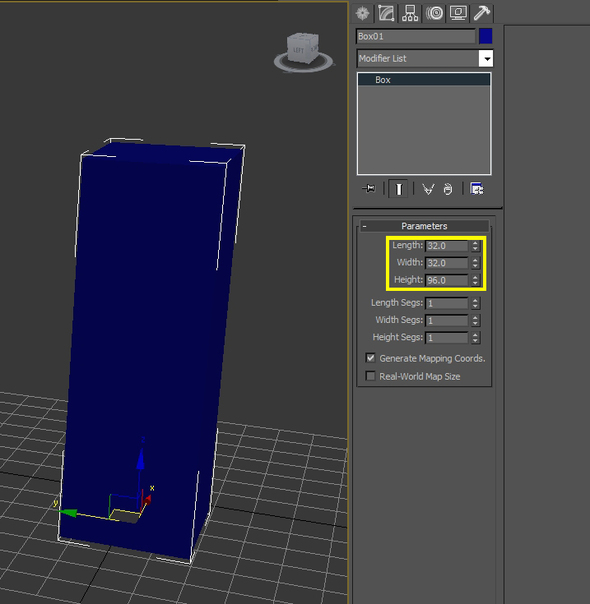
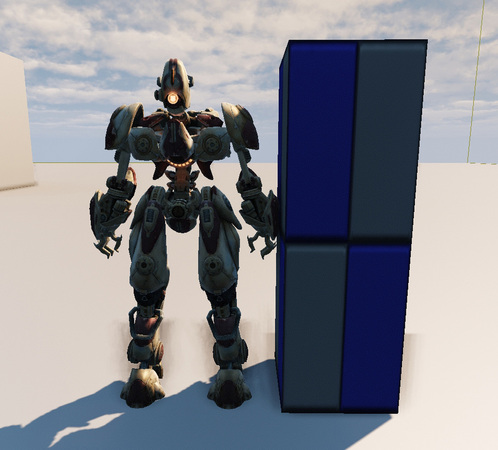
Generic Max units are equal to Unreal units. So if you were to model a simple box inside of 3ds Max that is as tall as the standard character you will have a good base to model from.
I use generic units all the time for my modeling needs. I haven't run into a problem with them yet.
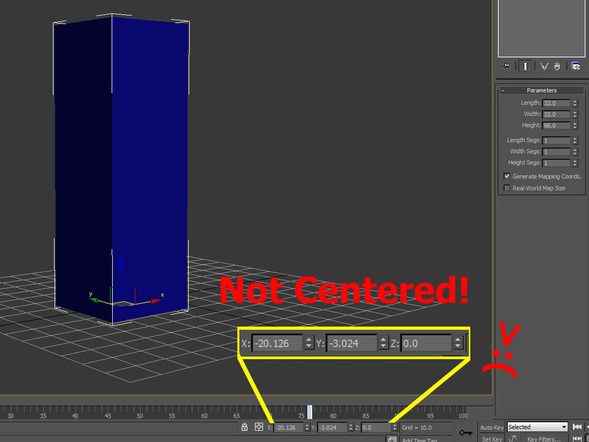
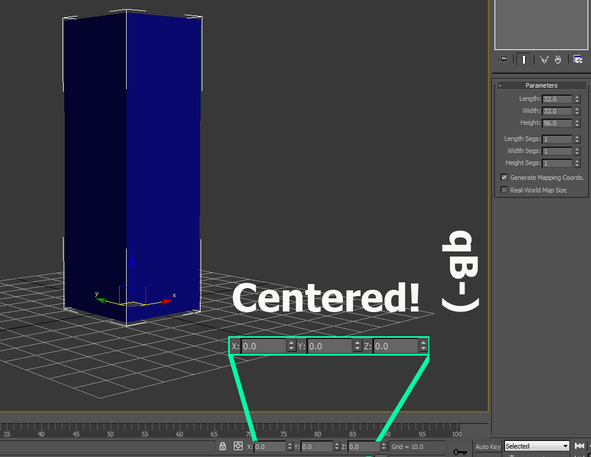
Once the coordinates are set to 0 it is ready to be exported.
Pick the location of where you want it saved and be sure to save it as an "ASE" file.
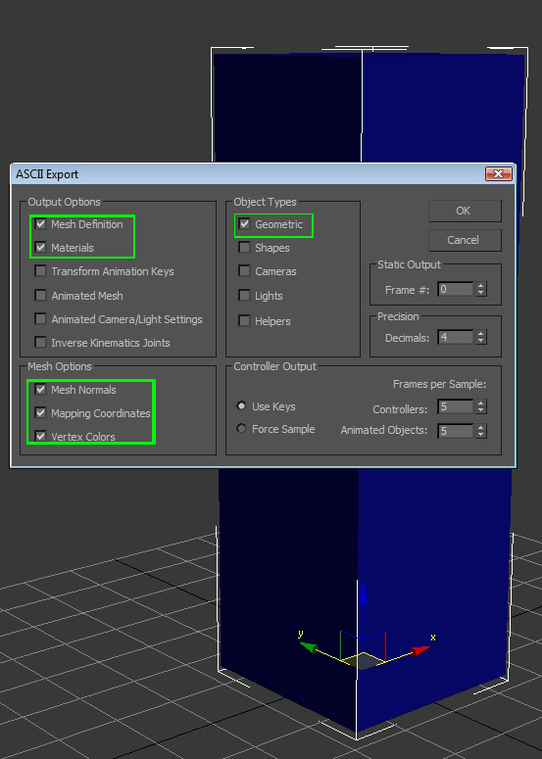
Once that is done a pop up window with a bunch of options will come up. It looks complicated but it really isn't. All you need to do is go to "Object Types" and select the first check box which is Geometric.
Where it says "Output Options" check the boxes for Mesh Definition and Materials.
And Finally where it says "Mesh Options" check all three of the boxes.
Once you got it all set up hit "Ok" and you're ready to import it into UDK.
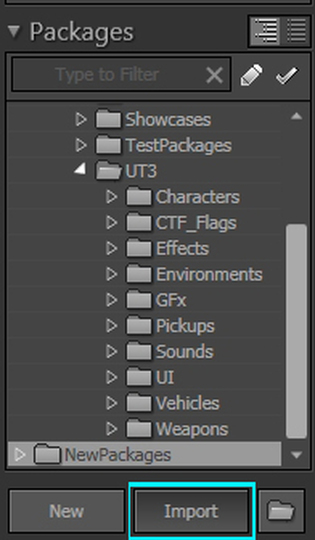
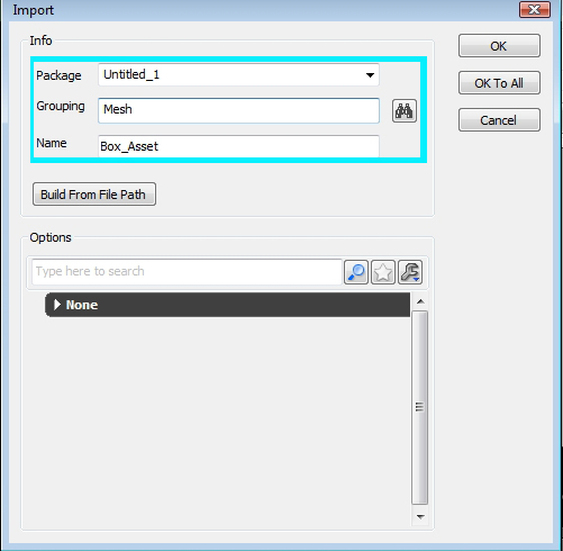
Click "Ok" when you're done. You should get a little window telling you that the "Generated/Imported vertex count ratio is (180/80)". You will get this error for a number of reasons.
The Reasons for this are:
- You have no UV map or you have more than 1.
- Your smoothing groups are splitting vertices
- You have an opening in the mesh
- There is no material for the mesh
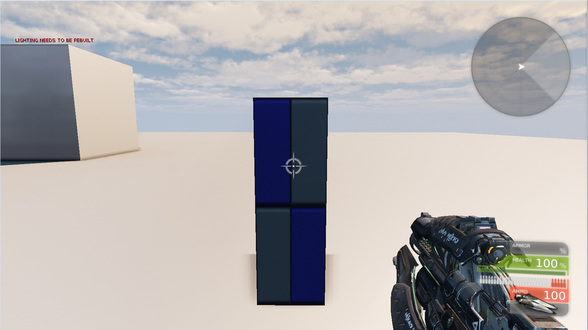
These errors are fine because this box is just a test. Just click "Ok" and your asset will be in the Content Browser. Drag your asset into the level. Make sure to save the asset first, otherwise if you jump into the level you won't be able to see it. Go into the content browser and right click on the asset or the package and click "Save". Now you are ready to hop into the level.
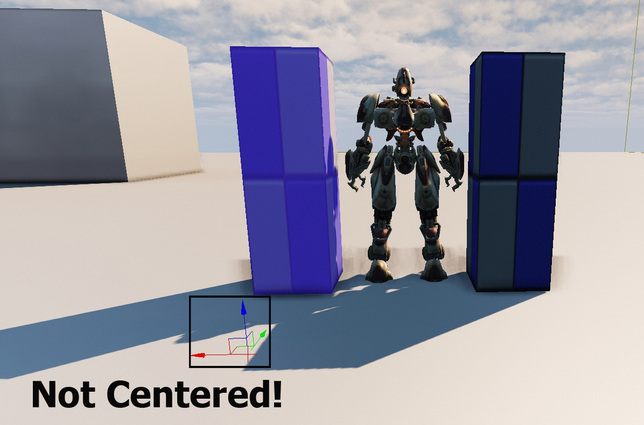
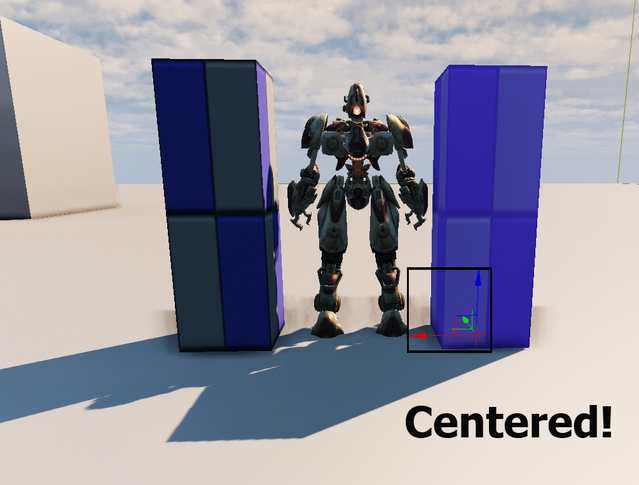
Think of it this way, if you need to hand over this asset to the Level artist or world builder he/she is going to have a really hard time trying to place the assets when the pivot is completely off. Make sure to center every asset you export from 3ds Max. Even with simple block out meshes. Practice good exporting!
- Danny Q
@Dannylv100



 RSS Feed
