
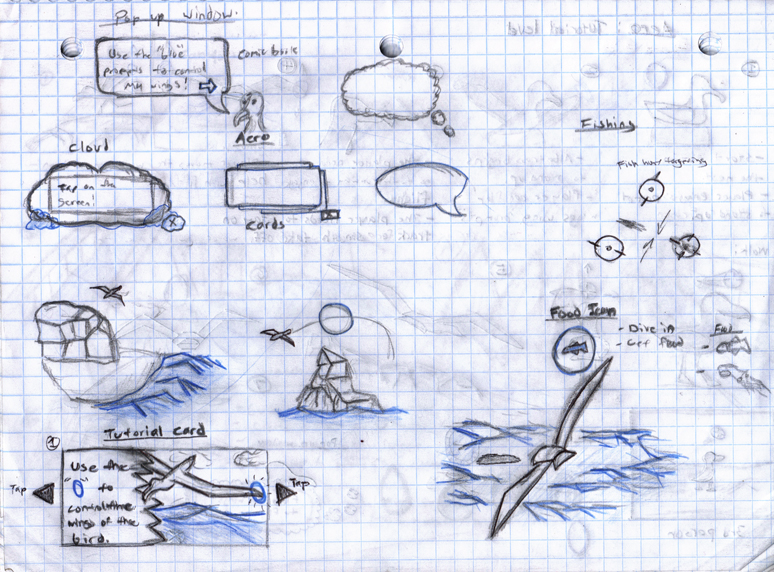
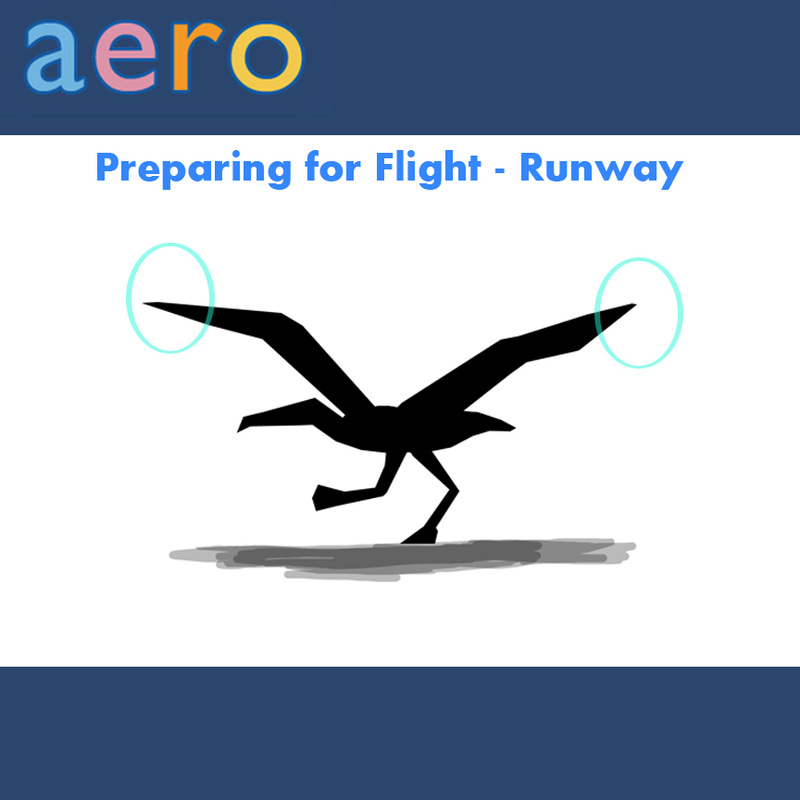
From late September 2011 to early December 2011 I was working as a Game Design Consultant for a small Iphone studio called GameDesk. I was brought on the team to help improve gameplay elements on two existing projects and to help design a third currently unreleased title. I wrote a blog post that talked about my time working on the first project Aero!. This blog post will focus on the other two games I worked on during my time at GameDesk.
Click on the image to DOWNLOAD the game!
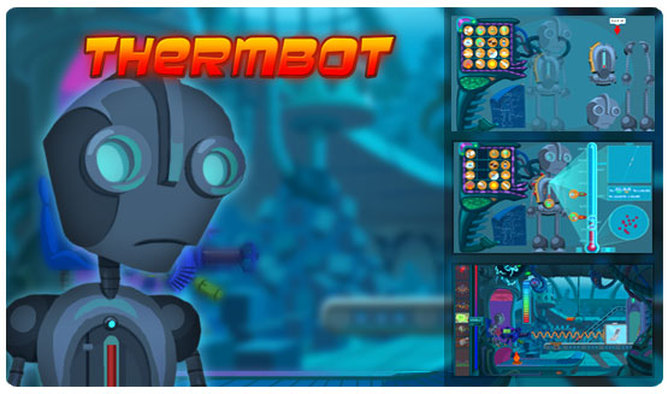
The first game I am going to talk about is Thermbot. Thermbot was a game where the player is given the task of making their own thermometer where they can compare and chart the differences in temperature between two objects. The player would also learn about how temperature works on a molecular level.
My job was to play the game and analyze it. Figure out what was needed to take this from a prototype phase to a presentable build. Part of that job was to systematically break down any problems with gameplay, user interface, game design, etc.
My job was to play the game and analyze it. Figure out what was needed to take this from a prototype phase to a presentable build. Part of that job was to systematically break down any problems with gameplay, user interface, game design, etc.
I made sure to play the game "blind". I sat down with the game with no instructions of help from anyone on the team. I wanted to get the reaction of a first time player.
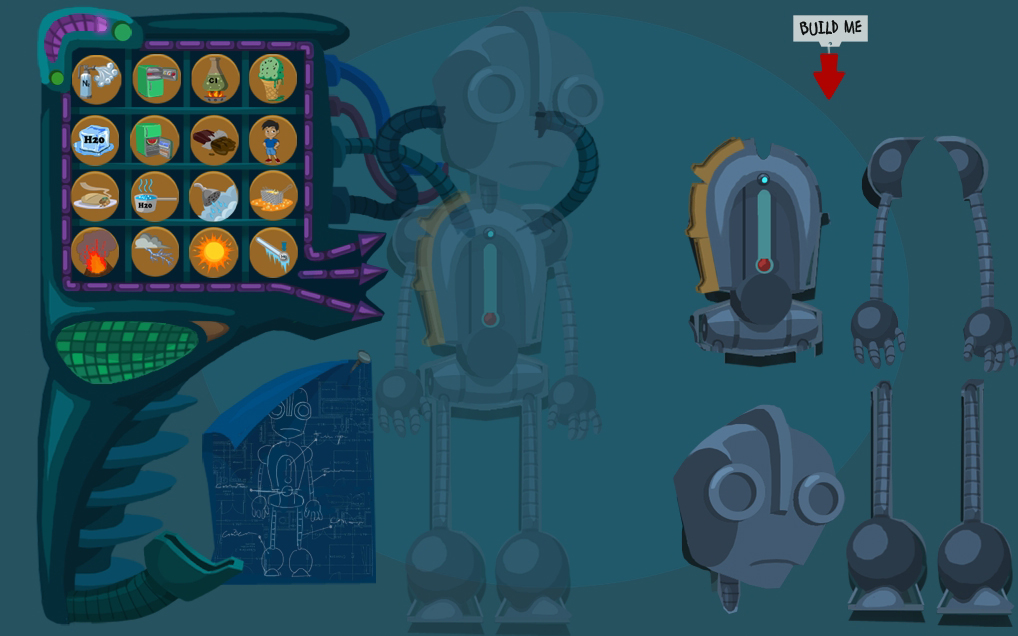
What immediately stood out to me was the lack up a proper User Interface (UI). Thermbot starts out as a few parts to the right of the screen. The player is told to "build" the robot which is clear enough, the trouble starts once the robot is built. He just stands there and becomes a part of the background rather than a something the player can interact with.
The player is then with little to no indication is tasked with placing "coins" in his coin slots. I had a hard time understanding that the things on the left side of Thermbot were coins, besides being round there was no indicator. My suggestion for this was to add something above the coin case that simply read "Coins".
Once the coins are added to Thermbot we begin to see how hot or cold they are on the thermometer. The coin slots were arranged in what I found to be a confusing manner. Here we have "High/Low/Mid" coin slots but to me it should read "High/Mid/Low". It made no sense to me that we would add the temperature that goes in between the high and low after the low.
There were a lot of problems concerning the readability of the game. Players need to be able to quickly identify what was going on in the game because as an educational game the player is losing time learning if they have to spend time figuring out what they need to be doing. The coin slots almost blend in with Thermbots design. I suggested that we make them stick out more so players would be able to understand what it was withing an instant.
Part of the problem in my opinion was that you were asking players to places coins in a coin slot. If the player can't identify the coins, how are they supposed to identify the coin slot?

This was going to be a tough nut to crack. This game is supposed to be educational and fun. The problem I saw here besides the UI and tutorial was the fact that the game had no real gameplay to it. The only thing the player was doing was dropping coins into a slot to measure temperature and chart molecules. The only form of any interaction was when the player dropped a coin that was too hot(such as lava) into Thermbot it would cause the thermometer to break. I felt that there was a lack of feedback given to the player created a disconnect between what they are doing and what is happening on screen. We need to bring the player back into the game. The game doesn't do a good enough job of introducing the player to the character of Thermbot.
In my opinion, a character based game there should be a focus on the character. The problem I saw was that the game was more about the thermometer rather than the bot. Whenever the player does anything in the game Thermbot would remain motionless. I suggested that when the player begins to interact with Thermbot his eyes light up, he moves and reacts to what the player is doing to him. I imagine that when you add lava to his thermometer and it explodes he would be surprised and jump back. Maybe his eyes follow the the players mouse around as he waits for the player to make their next move. There needs to be some sort of feedback, music or reward when we interact with this character.
One small thing I suggested was making the build part of Thermbot more interesting. He is just kind of floating to the side of the this machine. I suggested that the simple addition of a box, if we can have him in a box mixed with another few robot parts we already have the player interacting, solving a puzzle which is much more dynamic way to introduce the character. We are now introducing the character with a sense of exploration. He is a character who is in pieces and needs the player to a bring him to life. In his current state he is just a machine.
As a character Thermbot came off as well, robotic. He was a character that had no emotion, fears, hopes or dreams. He wasn't a character that players would be able to get invested in, and if the players were not interested in the main character they would have little reason to continue playing.
One of the main problems concerning Thermbot was that the fundamental gameplay wasn't there. It wasn't really a game. Anything I was suggesting was just icing on an uninteresting cake. The only gameplay mechanic was to select coins and drop them into a coin slot. Chart the temperature and study their effect. Thing is this game is not meant to be played by a child but to be used as a visual aid for a teacher in front of a class.
Thermbot: Playtest notes November 29th, 2011
- At the start of the game it might be more interesting to have the Thermbot parts inside of a crate instead of just lined up.
- Thermometer on chest should be blinking and have an arrow that would tell the player to click.
- Reword the tutorial. We should focus on things one at a time.
- When the tutorial starts we should welcome the player, let them know this is the tutorial
- The first thing we introduce is the thermometer. At this point in the game we would have their thermometer become highlighted.
- To ensure the player knows what the thermometer is we should make them click on it. Once they have done that the info box should have an arrow appear. the arrow once clicked should allow for the player to continue with the tutorial.
- The second part of our tutorial should introduce the player to the Coins. At this point we should have the lights for the coin case should light up.
- We then should have the game point out the coin slots on the robot.
- After hitting the continue arrow the player should be asked to grab a coin and drop it into the the test coin slot. The arrow for the test coin slot should be animating at this point.
- Once the player is made aware of the coin case and the coin slots they are encouraged to select select a coin and place it in the slot.
- When the coin is in the slot it should be more obvious to the player
- The coin ejection button should be better explained.
- Fix the steam, spoon and soup. We should make it that the spoon, soup and steam are already set up but then we make texts pop up.
- Show an example of a solid, liquid and gas. Too much reading.
- The player should be rewarded. Thermbot's eyes could light up or there is some sort of audio that plays.
- Make the robot more of a factor in Thermobot.
One issue I came across was getting the tutorial right. The first time I played there was not tutorial. We were able to get it in the next iteration of the game and I found some interesting concerns. When the player is shown the tutorial they have the ability to skip though it all and miss everything they need to know about the game. I suggested that we make it that the tutorial can't be skipped. That we tell the player what to do and have them do it on screen so they have some context to what they are doing. There was concern that this would slow down the pace of the game but I felt that for an educational game we need the player to know what was going on. Another concern I had was that when the tutorial goes away we can't open it up again. I made the argument that there should be a way to open up the tutorial again so the player can go over a section they missed or didn't comprehend. I also mentioned that there should be a tip icon that pops up to help guide the player along if they get stuck.
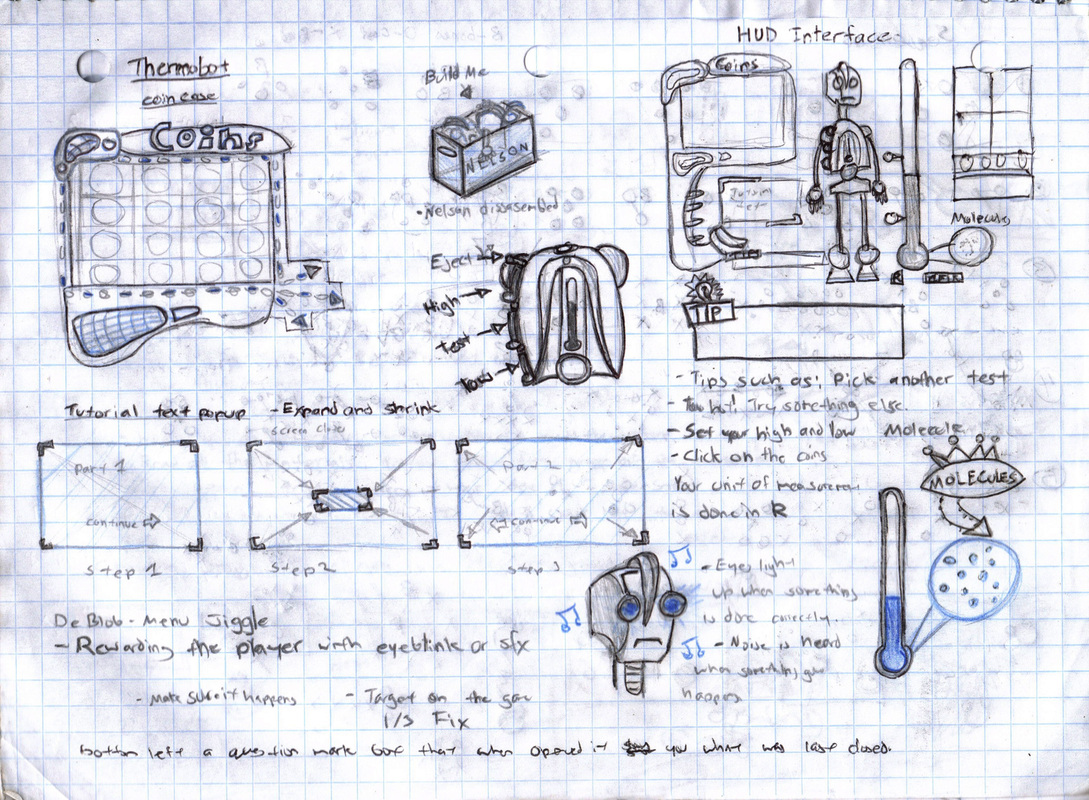
My notes on how to improve Thermbot.
Updated: December 2012
Thermbot is now available for download through GameDesk's official website.
Note: Game is no longer available.

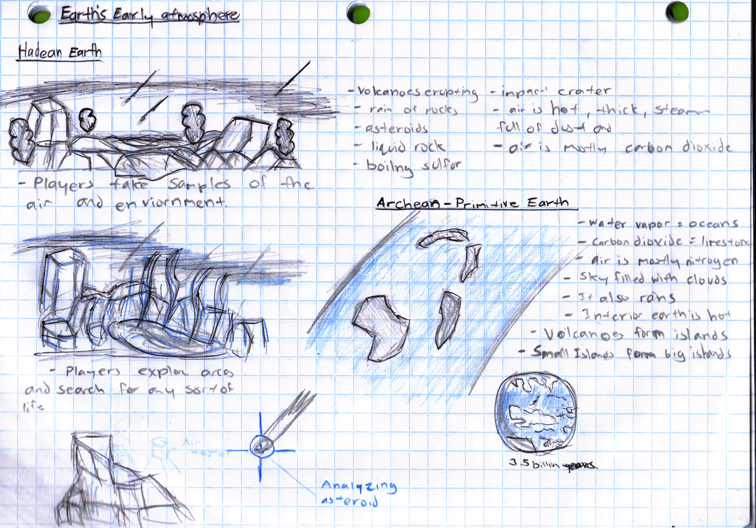
Geoscience was the third game I was working on at GameDesk. My job was to research and design games based of geosciences. that would be fully functional on the Iphone, Ipad and Kinect. This project was a ton of fun to work on and was the first time I had a chance to design something with the Kinect in mind.
I presented and pitched all of these ideas at one point or another during my time at GameDesk. The objective of these games are to be fun and to teach the player. Not an east task but I think I found a good balance between the two with many of the games.
I presented and pitched all of these ideas at one point or another during my time at GameDesk. The objective of these games are to be fun and to teach the player. Not an east task but I think I found a good balance between the two with many of the games.
Volcano Game

The first thing I did was sit down and began to sketch out an idea for a game where you would control the flow of magma. I knew I wanted to make a volcano game but something that educated the player on the positive things volcano did. There weren't going to be any villages being destroyed by the lava in this game.
One of my early ideas was a "pipe dream" style game where the player would have to guide the magma toward the volcano so it can erupt.
One of my early ideas was a "pipe dream" style game where the player would have to guide the magma toward the volcano so it can erupt.
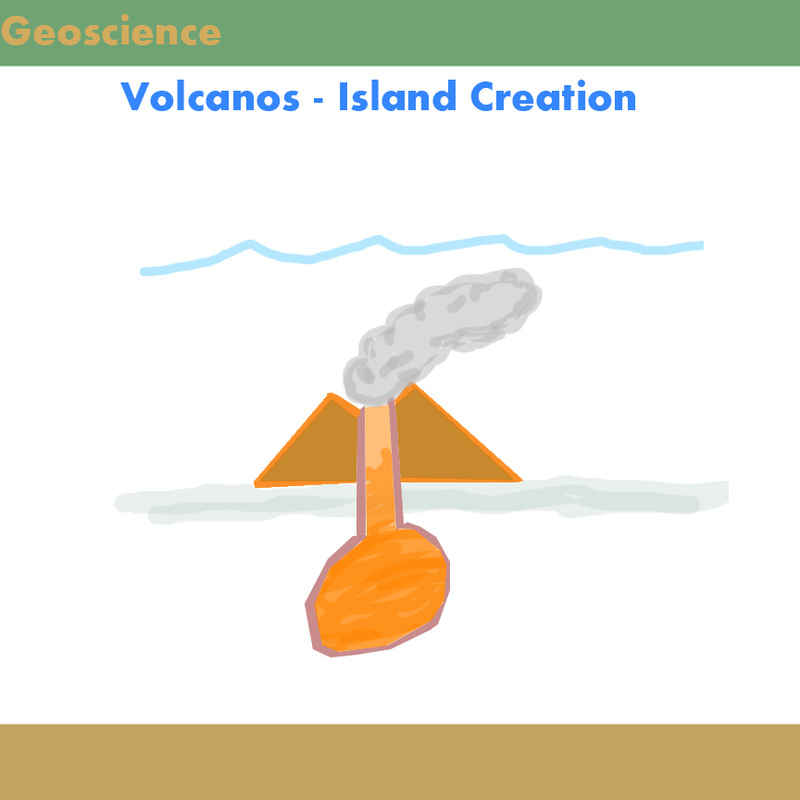
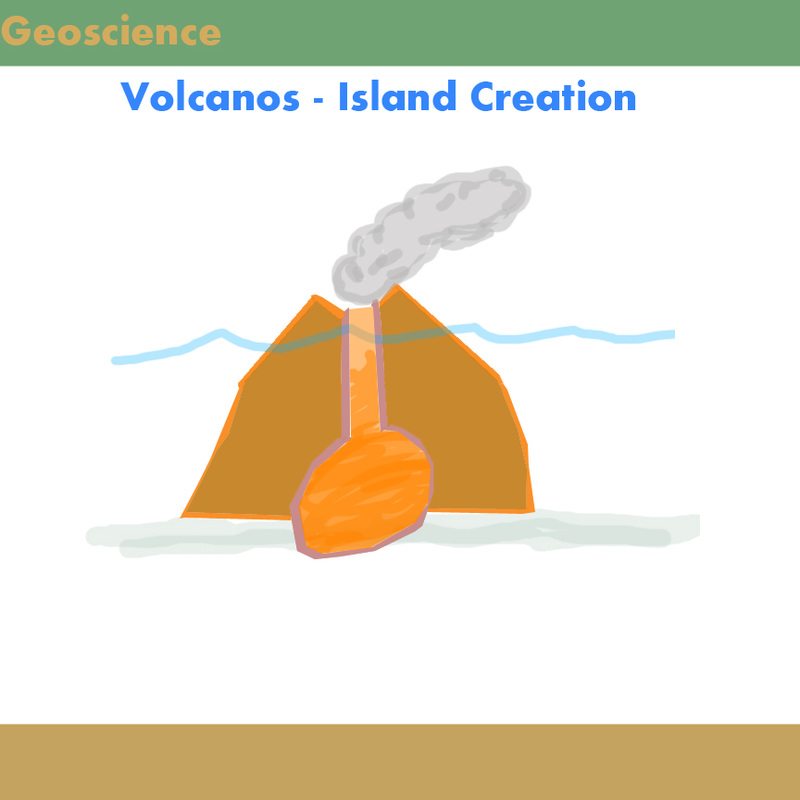
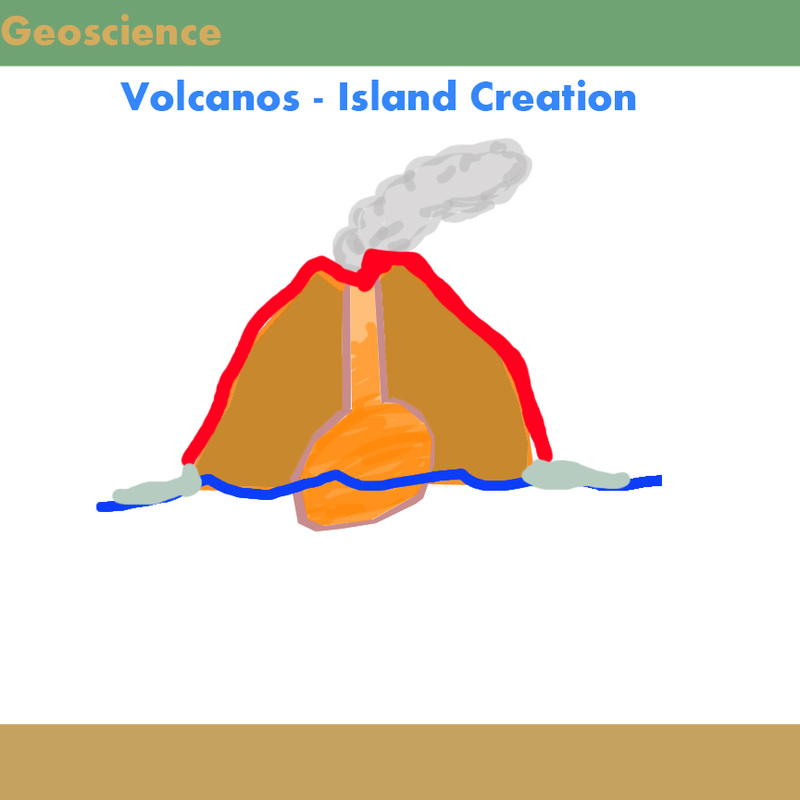
Using the Iphone's touch screen the player would mix the magma together to get the volcano going. In the first few stages in the volcanoes like this would be very important. The faster the player mixed the faster it would grow. Once it reaches the surface the player would have to mix the magma up to cause an eruption so they can begin to form an island.
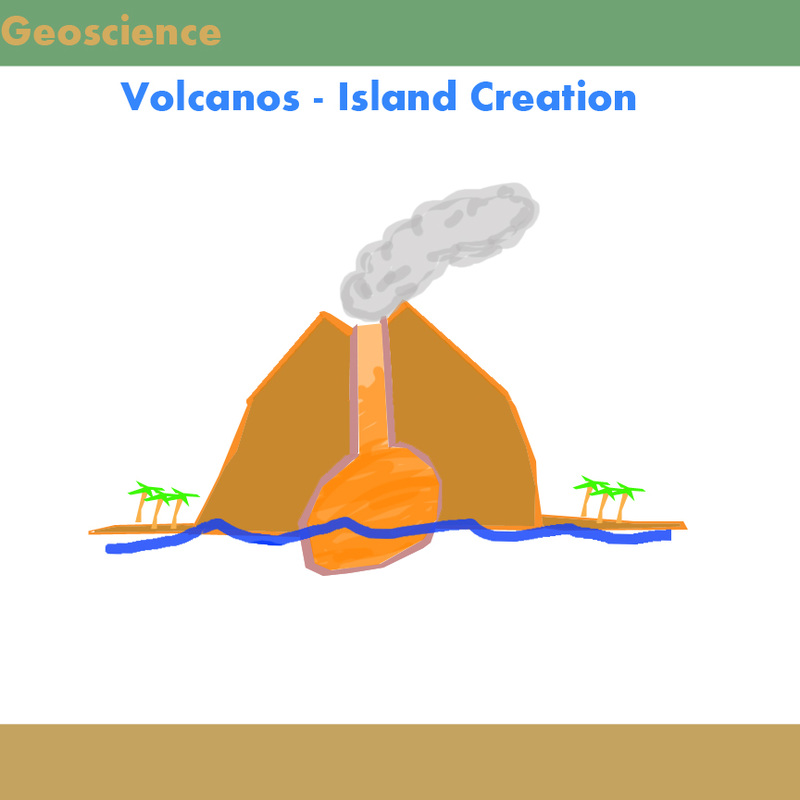
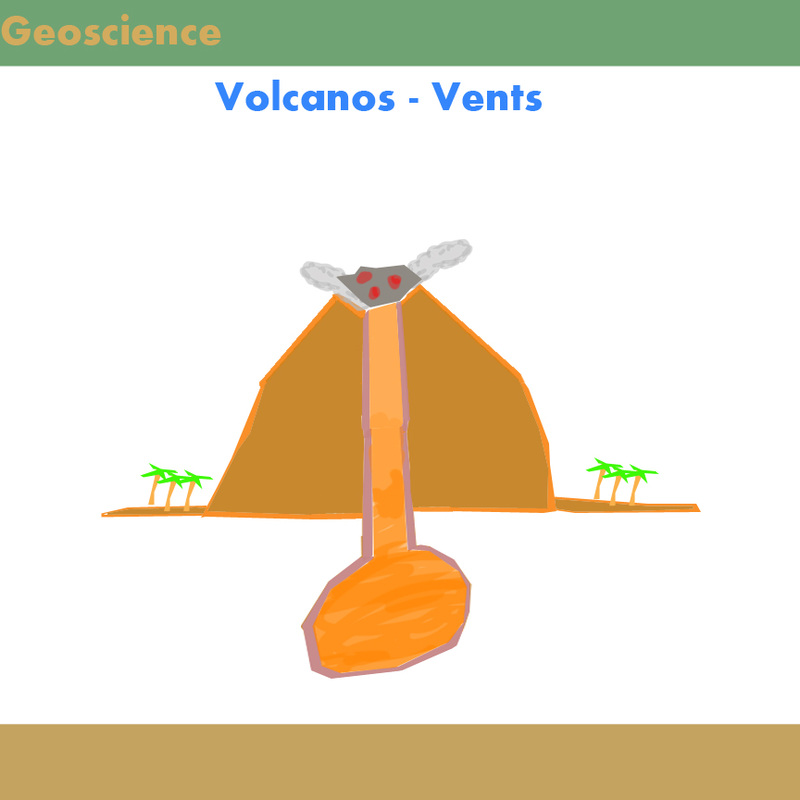

once an island is former the player would now be tasked with keeping the volcano from destroying the uninhabited island. The player would have to open up vents on the side of the volcano to allow pressure to be released.
Rain Cycle Game
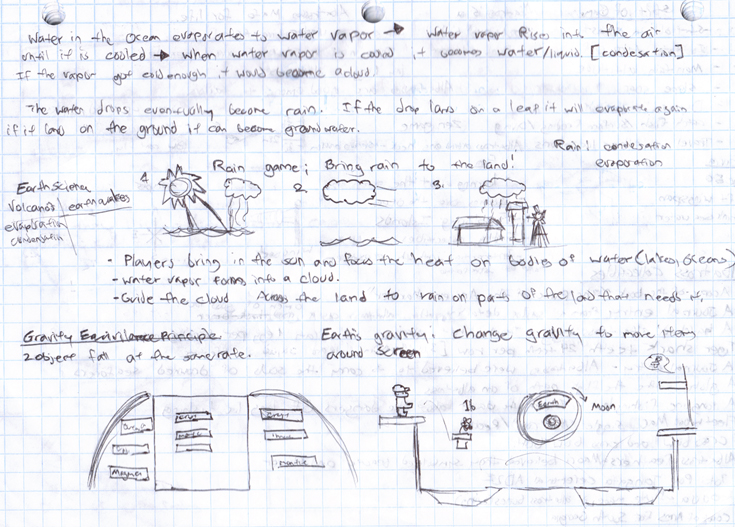
Another one of my early ideas was a game where the player would play through the rain cycle. The player would start as vapor and eventually form into a cloud. As a cloud they would then use the touch screen to use the winds to guide them to nearby areas that would need rain.
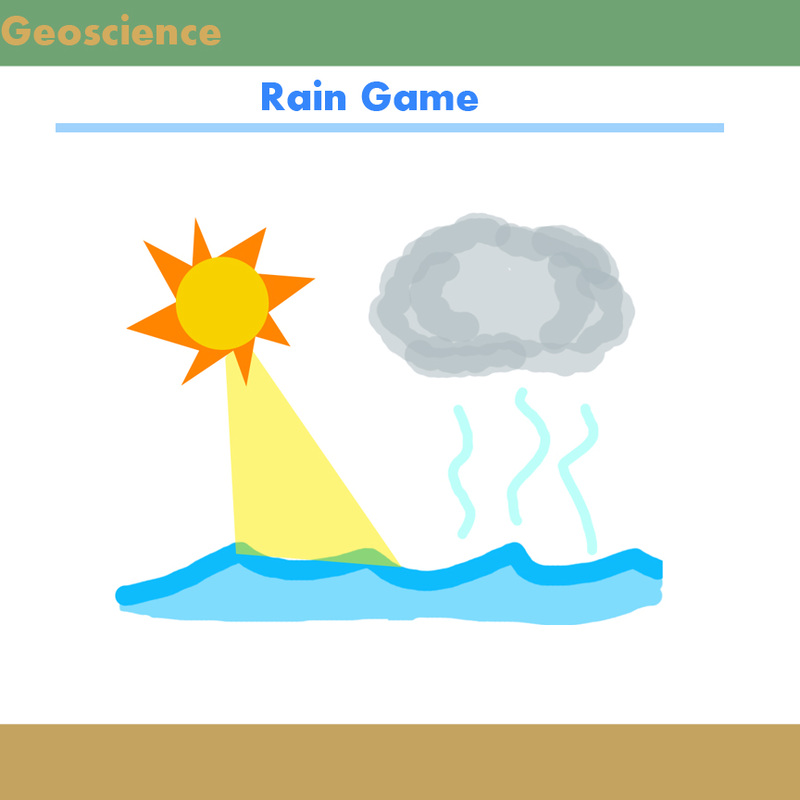
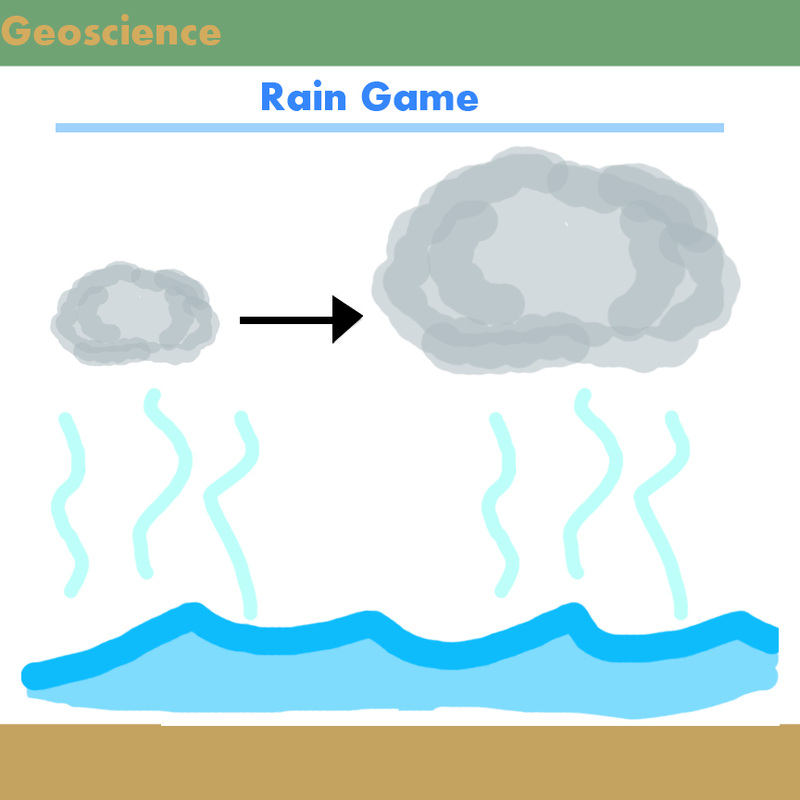

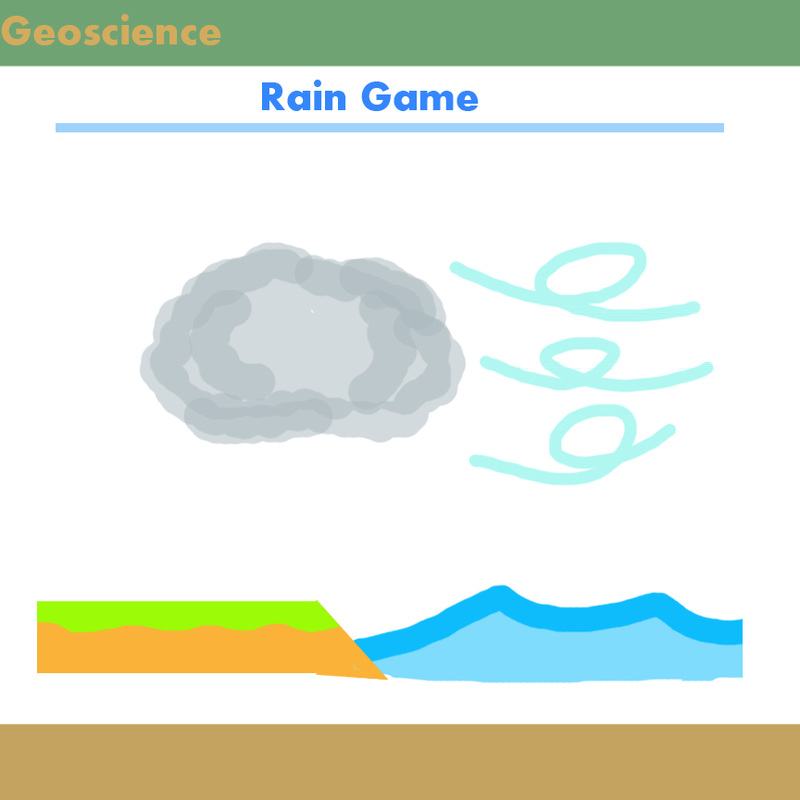
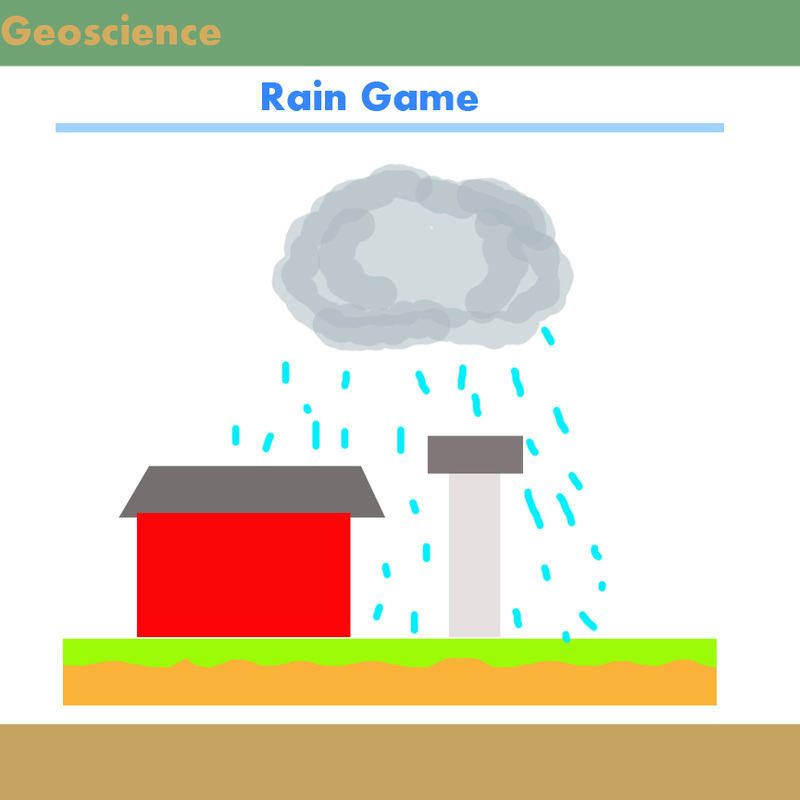
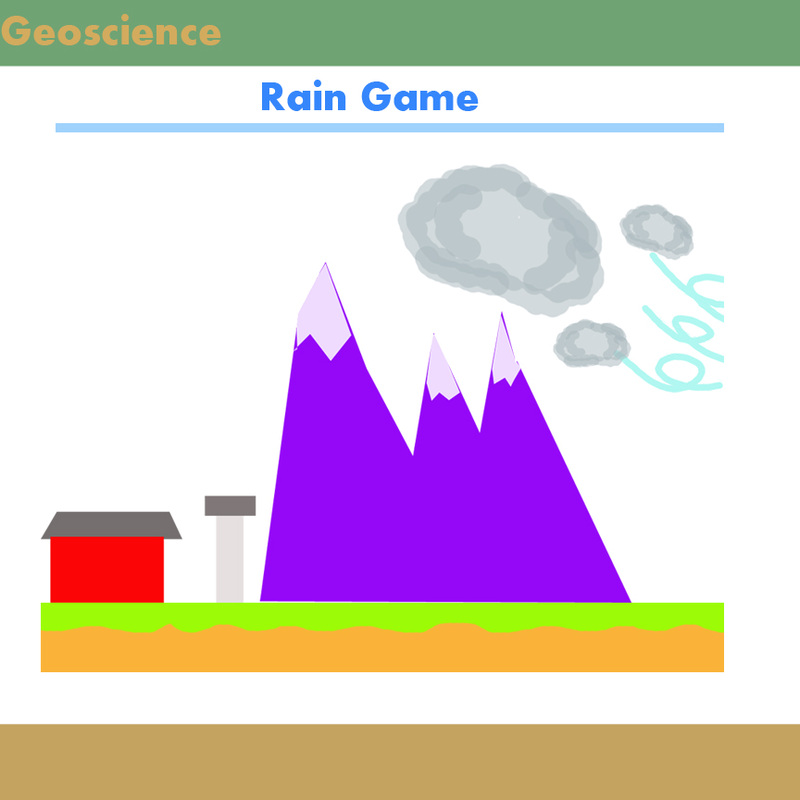

The rain game in my mind was a winner. It thought the player about the rain cycle while also giving them a clear objective and challenge to accomplish.
It is game that I still would want to make if I had the chance. The mechanics are simple and it works fluidly with the Iphone's touchscreen.
It is game that I still would want to make if I had the chance. The mechanics are simple and it works fluidly with the Iphone's touchscreen.
Mountain Maker

This is one of my greatest ideas. Mountain maker came to me in a vision. I thought about how tectonic plates collide in the earth to form mountains. I thought about how that can be mimicked through the use of a Kinect system. If the player were to bring their hands together like they were shaping clay it would be just like moving the plates together.
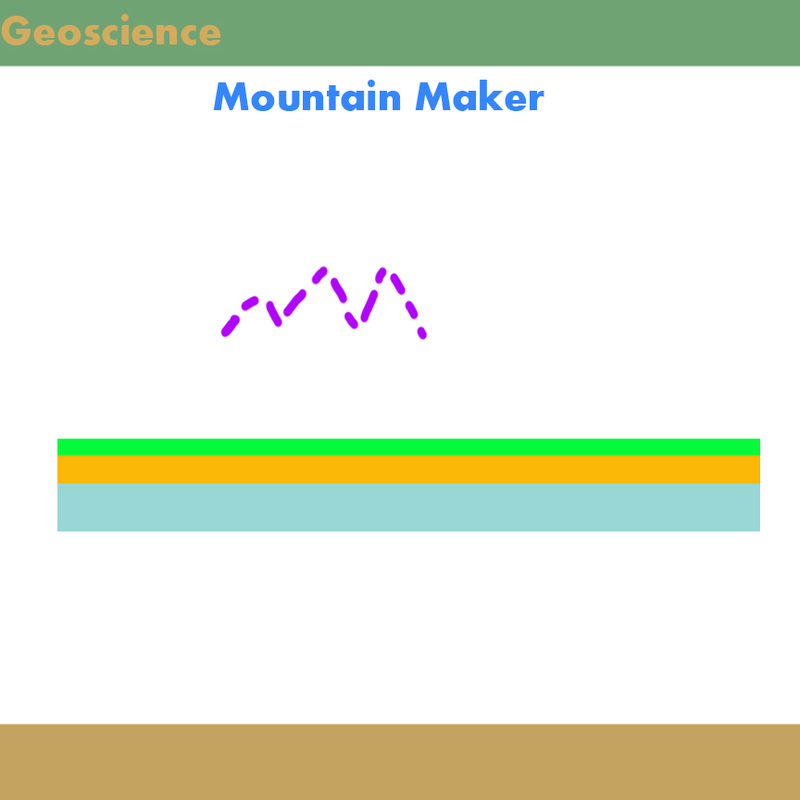
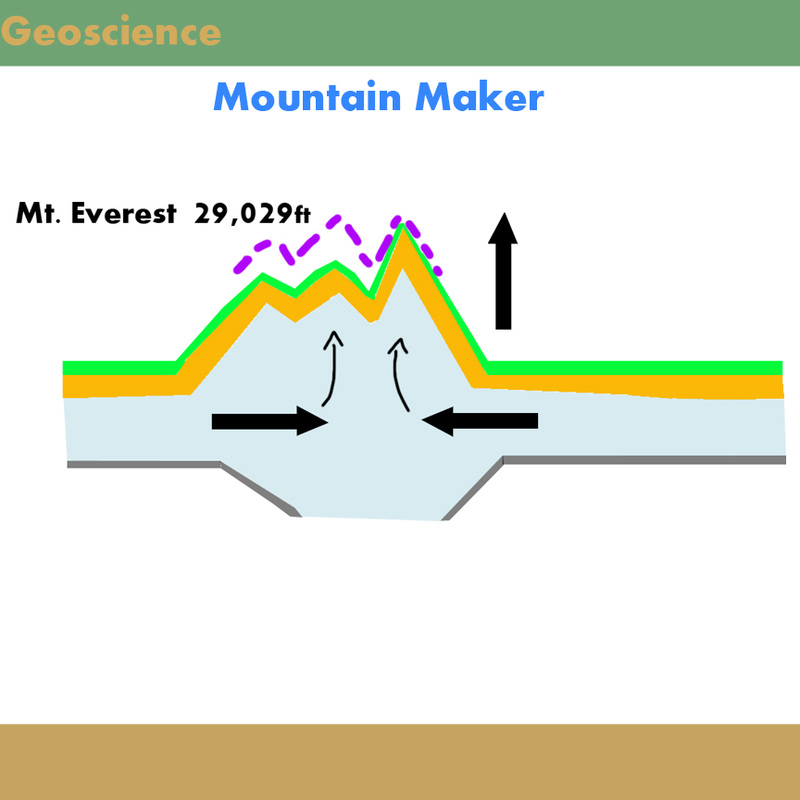
Mountain Maker had the player fully interacting with the game with the use of the Kinect. With the Iphone or Ipad players would use their fingers and hands to carefully shape and smooth out the fine details.
Tide control Game
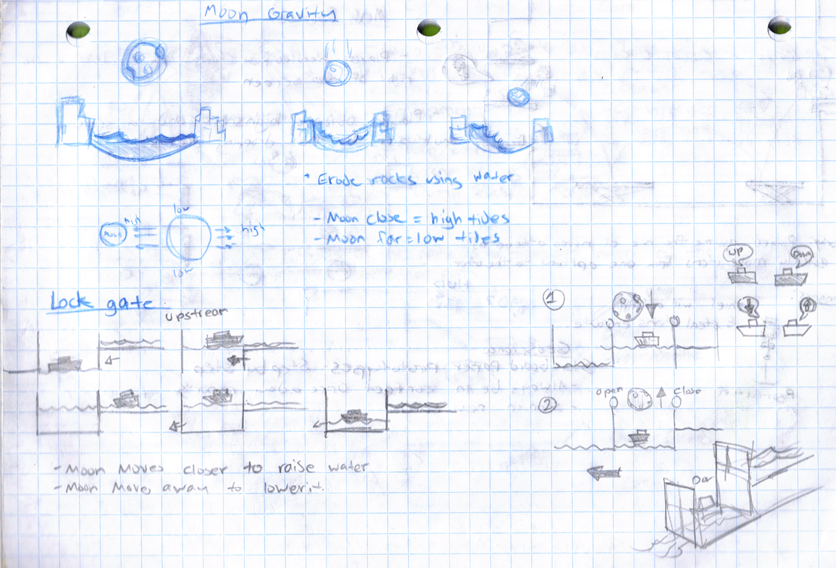
This game was based off of the moon's gravity affecting the flow of the tides. I had this idea where the player would control the moon itself by sliding it up and down the screen to adjust the height of the water inside of a water lock.
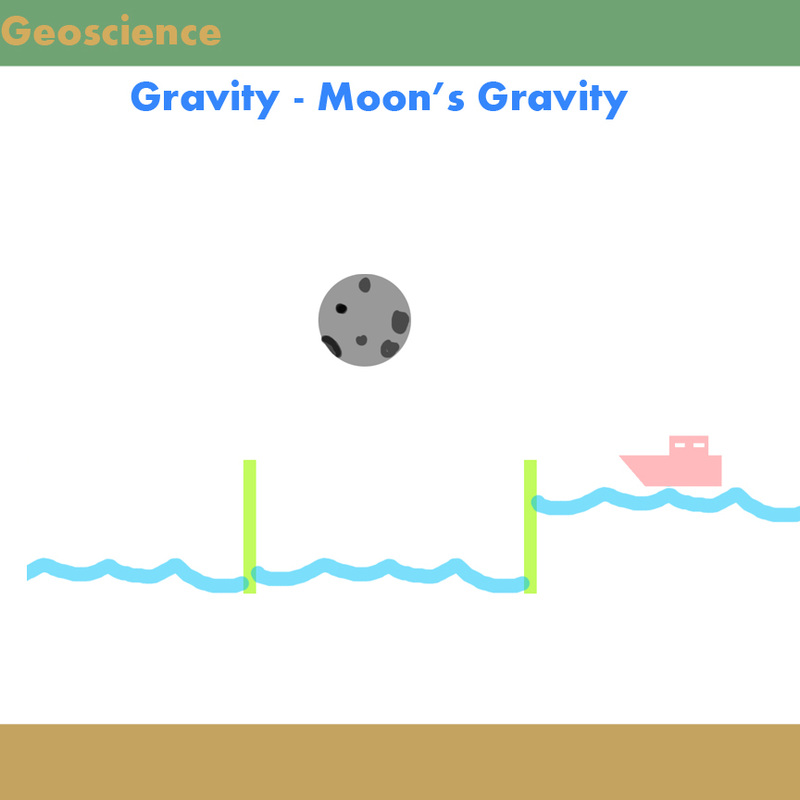


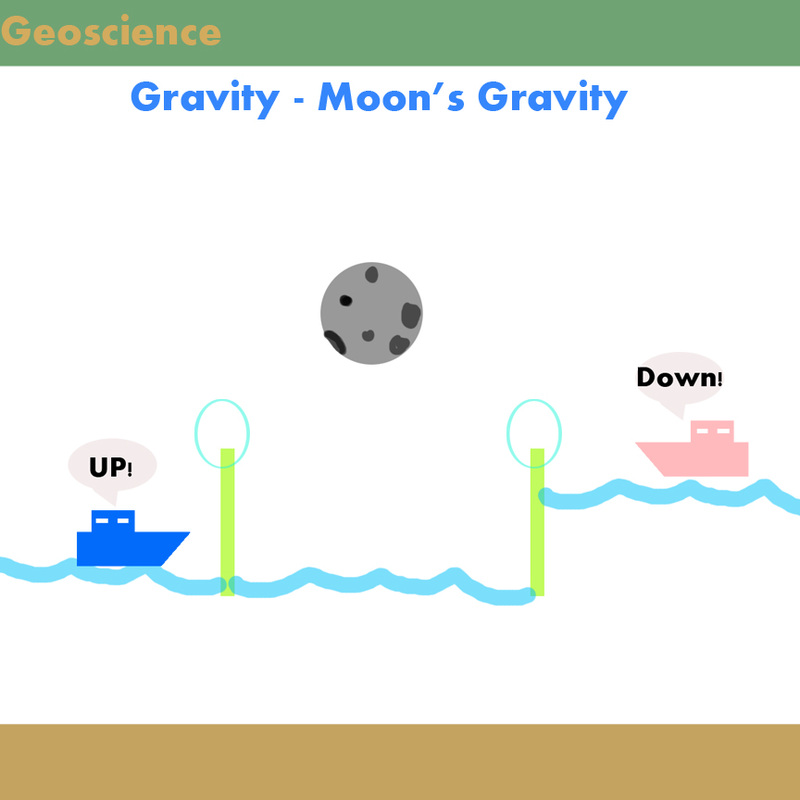
The object of the game is to safely get the boats to the other side without there being a hue traffic jam on the water. If too many boats crash or get stuck the game is over.
Players will have to use the moon effectively to keep the flow of boats going. The objective of this game would be to teach the player how the moon's gravity affects the tides here on earth.
Players will have to use the moon effectively to keep the flow of boats going. The objective of this game would be to teach the player how the moon's gravity affects the tides here on earth.
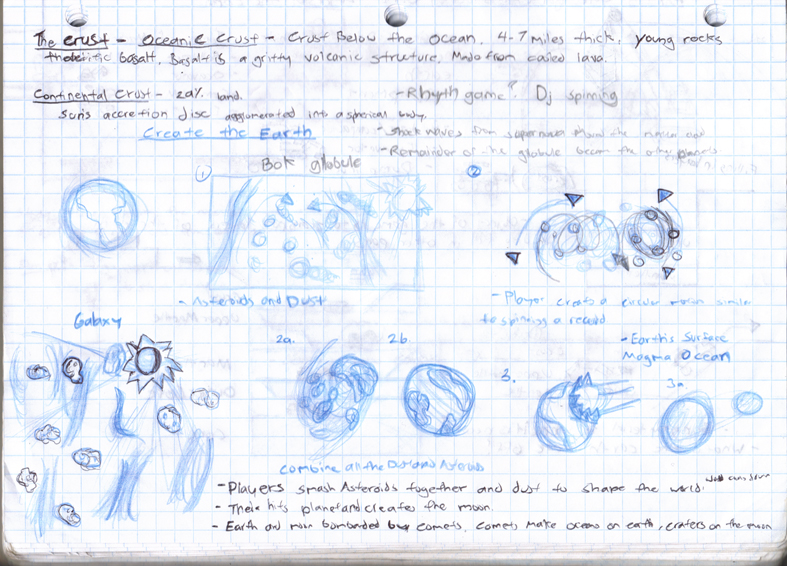
Musical Galaxy Creation Game
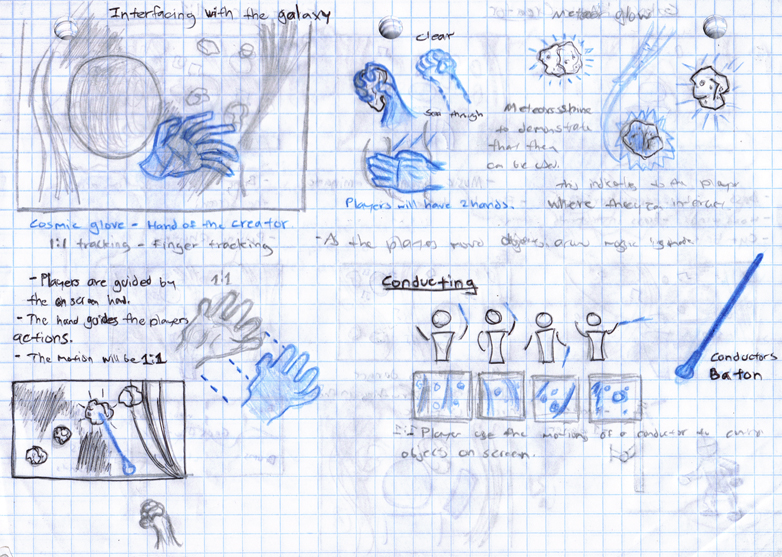
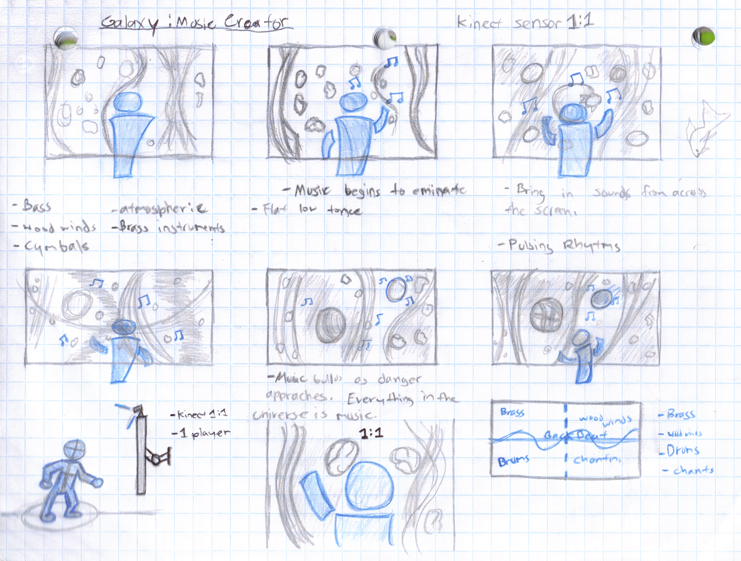
We wanted to start the game off with a bang. We thought it would be interesting if on the kinect system we have an intro where the player using the gestures of a conductor guides particles in space together until they begin to form a planet.
While the player is putting this planet together we would have orchestral music playing. This part of the game would then be followed by the creation of the moon.
While the player is putting this planet together we would have orchestral music playing. This part of the game would then be followed by the creation of the moon.
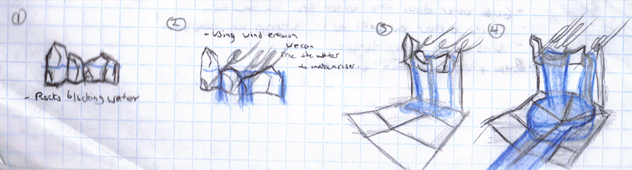
Erosion Game
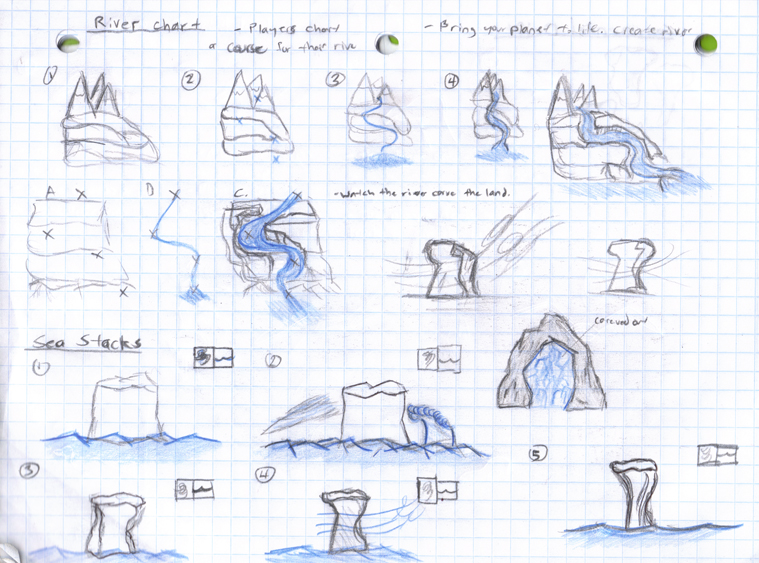
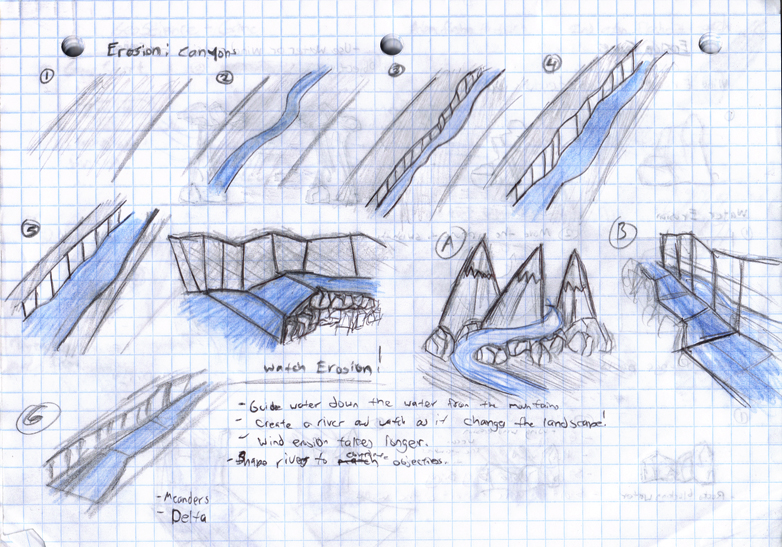
The erosion game involved charting paths and watching how rivers form and affect the areas around it. The objective of this game would be to teach the player about erosion and how a stream can become the Grand Canyon.
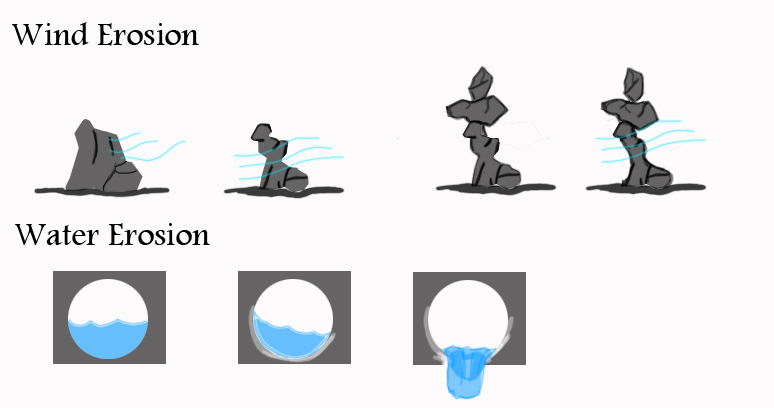
I had an idea for a wind erosion game that would have been more of a wind erosion simulator. The player would use wind to carve and shape stones into beautiful looking yardangs, landforms and ventifacts. At the time of this idea's conception I didn't have specific goal in mind beyond shaping the stones and making beautiful rock formations.
Tectonic Plate Micromanagement Game
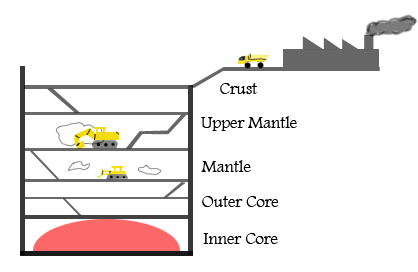
A game idea I toyed around with was a game where you have a small crew of construction vehicles that would be moving minerals and material from a factory to different layers found in the earth.
The idea behind this was that it would teach the player what makes up these layers of the earth. Players would have to transport and excavate material from these layers and move them to the factory to be converted into the proper material.
The player would start off with three different construction vehicles. A dump truck for transporting, an excavator for excavation and a bulldozer for flattening and moving things.
Continental Drift Game
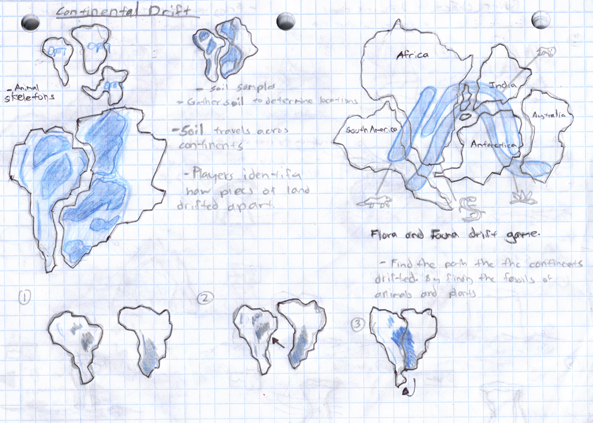
This game was something I and another person on the team came up with. The idea was that we would have early pieces of continents floating through the water and the player would be tasked with putting them back together like a puzzle. The only clues that would tell the player would have would be the fossils of animals and plants. So not only does the player need to piece together the continents but the fossils of animals and plants they found. The game would teach the player about continental drift, flora and fauna of these ancient continents.
- Danny Q
@Dannylv100
@Dannylv100


 RSS Feed
