
A few months back I was in charge of designing a campaign level for a project. The level I was working on was going to be a tutorial that slowly taught the player all the basics of the game. It would start out with teaching the player how to take cover, move, vault and to use a weapon. After that the level would transition into a stealth segment.
Dev Note: This level is designed to average around fifteen to twenty minutes for most players. The time can vary depending on how the player decides to play the game. (Stealth, Combat, exploring etc).
Dev Note: This level is designed to average around fifteen to twenty minutes for most players. The time can vary depending on how the player decides to play the game. (Stealth, Combat, exploring etc).
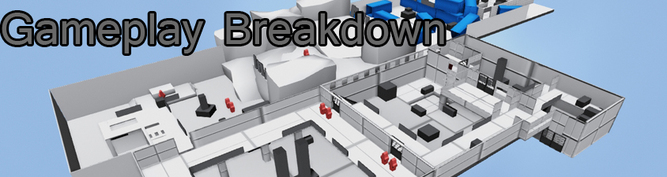
Campaign
- Name: Welcome to the Jungle
- Single mission/Tutorial
- Single mission/Tutorial
Mission Location

- Unexplored Island off the coast of Japan
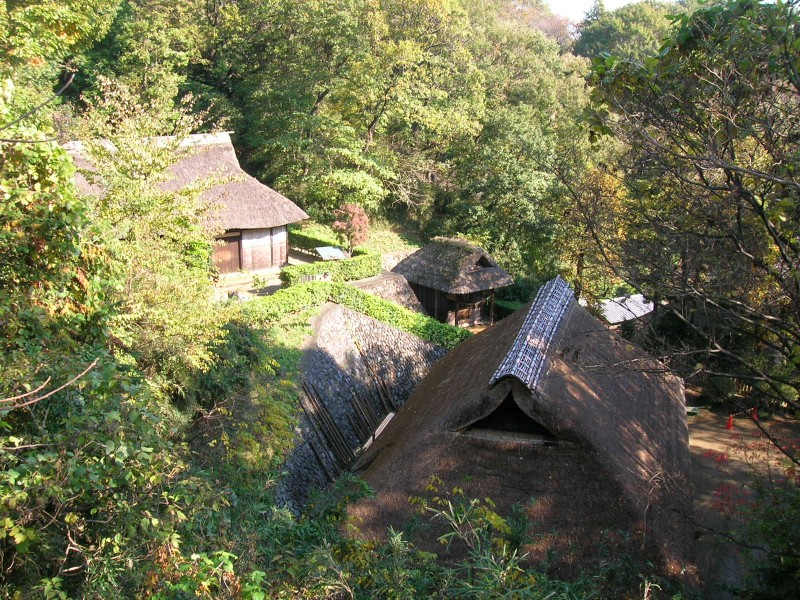
- Present day abandoned ruins of an old feudal era Japanese House
- First part of the map is interior and second half is exterior
- Present day abandoned ruins of an old feudal era Japanese House
- First part of the map is interior and second half is exterior
Story
- On a remote Island off the coast of Japan a young and brash explorer Jake Valdez ventures into the jungle to find the rumored lost civilization of the Sun Emperor. On his adventure he not only discover the ruins of this forgotten civilization but he discovers a group of militant mercenaries that are destroying any evidence of this society. Anything of value is being taken and they burn down the rest. As Jake tries to escape he is capture and knocked unconscious. He now needs to escape captivity and find out who sent these mercenaries here in the first place.
- The story within the level consists of a captive Jake tied to a chair and locked in a room trying to escape from his captors. The player needs to escape confinement and escape the makeshift prison. Along his way he must eliminate any mercenaries he encounters or he will be killed on sight.
- The story within the level consists of a captive Jake tied to a chair and locked in a room trying to escape from his captors. The player needs to escape confinement and escape the makeshift prison. Along his way he must eliminate any mercenaries he encounters or he will be killed on sight.
Visual Themes
- Decaying ruins of the Japanese Minka house
- Evidence of the house being torn down by the intrusive mercenary forces
- Contrast between the shipping containers/crates of the mercenaries and the natural quaint look of the Japanese architecture.
- The exterior of the house has a lush jungle that is contrasted by steel shipping containers.
- Makeshift guard towers and other structures brought in by the mercenaries
Mission Difficulty
Start: The first part of the mission is where we introduce the players to the world and setting. As the player begins to explore the environment they are slowly being taught to interact with the environment and use their abilities (sprinting, vaulting, taking cover, shooting etc). The only enemies encountered are equipped with a pistol.
Middle: The pacing picks up during this section. More enemies begin to engage the player and they player has more room and options on how they could handle the enemy encounters. At this point we introduce newer enemy units (machine gun and shotgun mercenaries) and new weapons (AK-47 and M500 shotgun).
End: The pacing slows down significantly, players are introduced to the stealth aspects of the game. They are encouraged to use stealth to take down the enemies in this area of the map. The layout of the map is still suited for a player that would rather run and gun. We encourage stealth but we make sure the player has options.
Level Goals
- Teach the player movement/traversal (Running, walking, vaulting, climbing etc)
- To teach the player how to open doors and pick up items
- Teach the player how to take cover and combat
- Teach the player how to use weapons and melee
- Teach the player how to use cover mechanics for stealth
- Ensure that the player has learned all the game mechanics needed to play the game.
- To teach the player how to open doors and pick up items
- Teach the player how to take cover and combat
- Teach the player how to use weapons and melee
- Teach the player how to use cover mechanics for stealth
- Ensure that the player has learned all the game mechanics needed to play the game.
Enemy Units


|
The enemies the player encounters are skilled mercenaries of various backgrounds and organizations. They operate in a pseudo military fashion. Using a variety of weapons and tactics to flank and outsmart the player.
|
- Pistol Mercenaries
- Machine Gun Mercenaries - Shotgun Mercenaries |
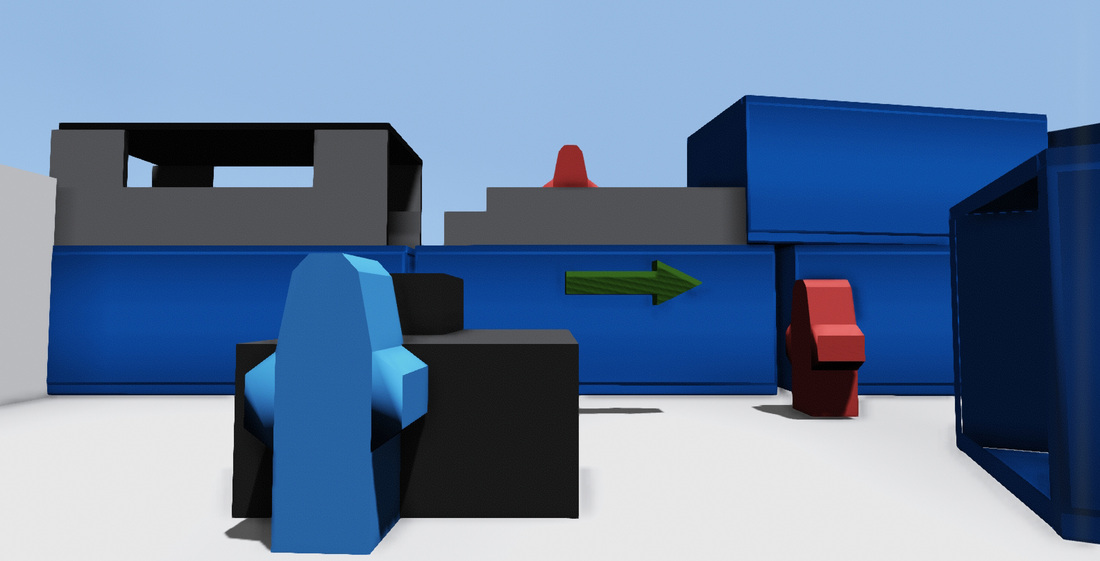
First Area - Minute 1-4

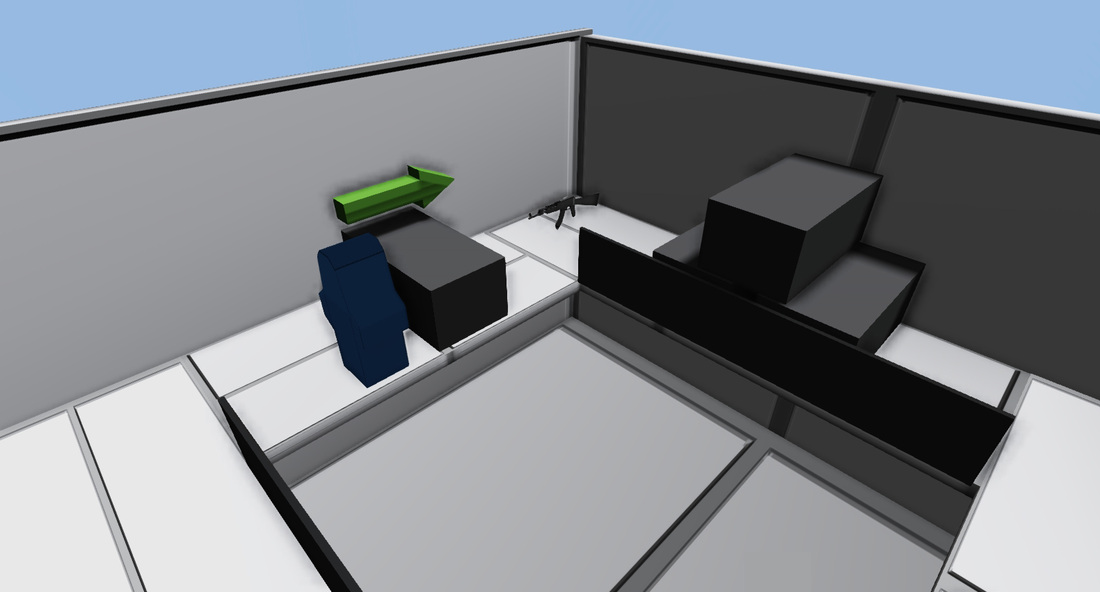
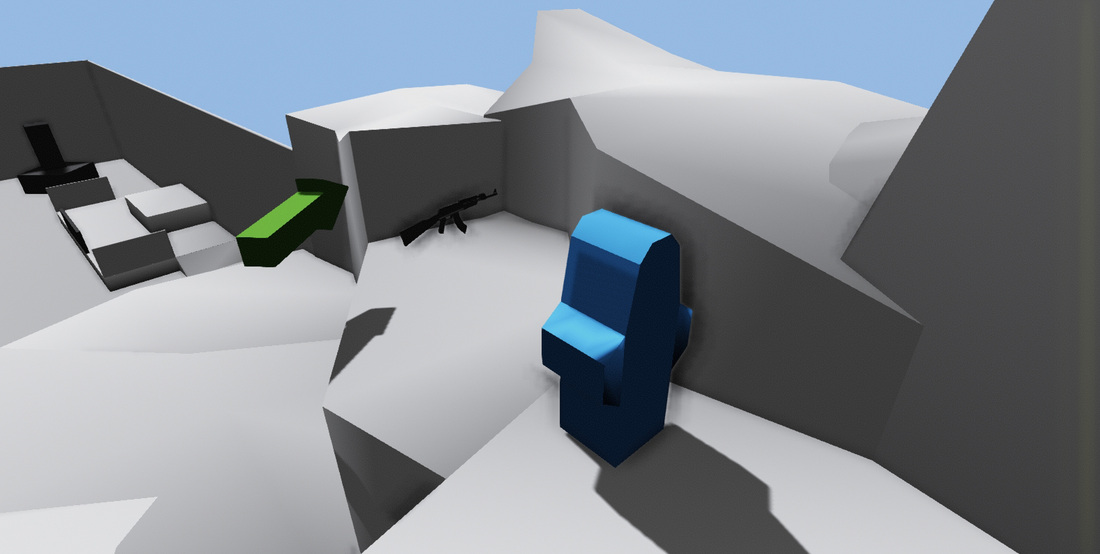
When the levels starts the player finds themselves locked in a small room. In the room there is table with a pistol on it. The player is instructed how to walk (W,A,S,D) and when they reach the table they are instructed to pick up the pistol using the E key.
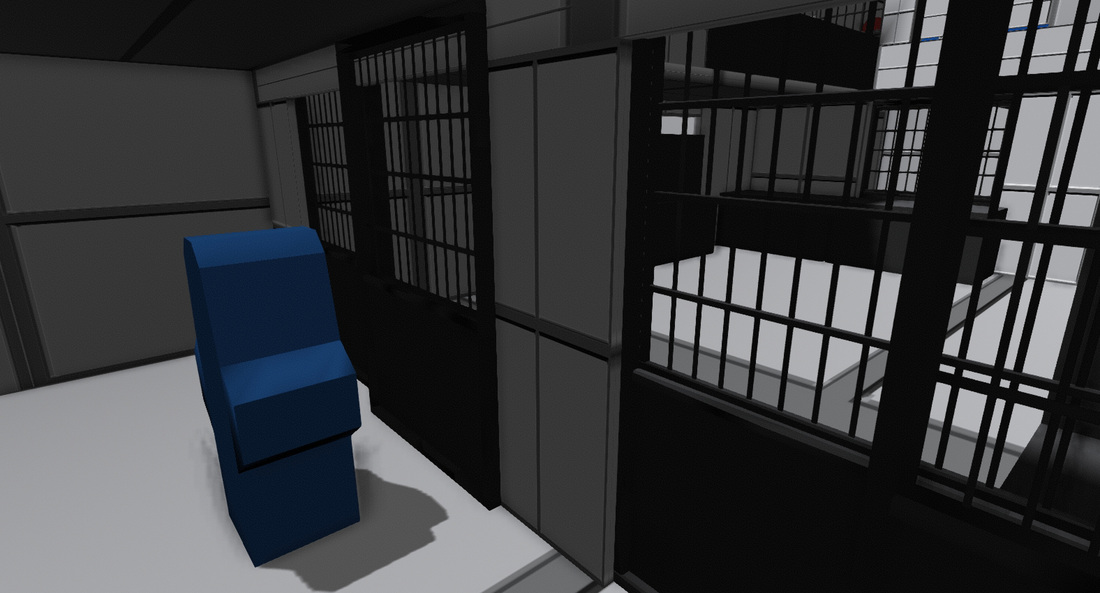
The pistol is currently unloaded and when the player reaches the door they can see into the other room. The door is jammed and can not simply be opened. The payer is then prompted to Melee (F key) the jammed door to open it.
With the door open the player is free to explore the next room.
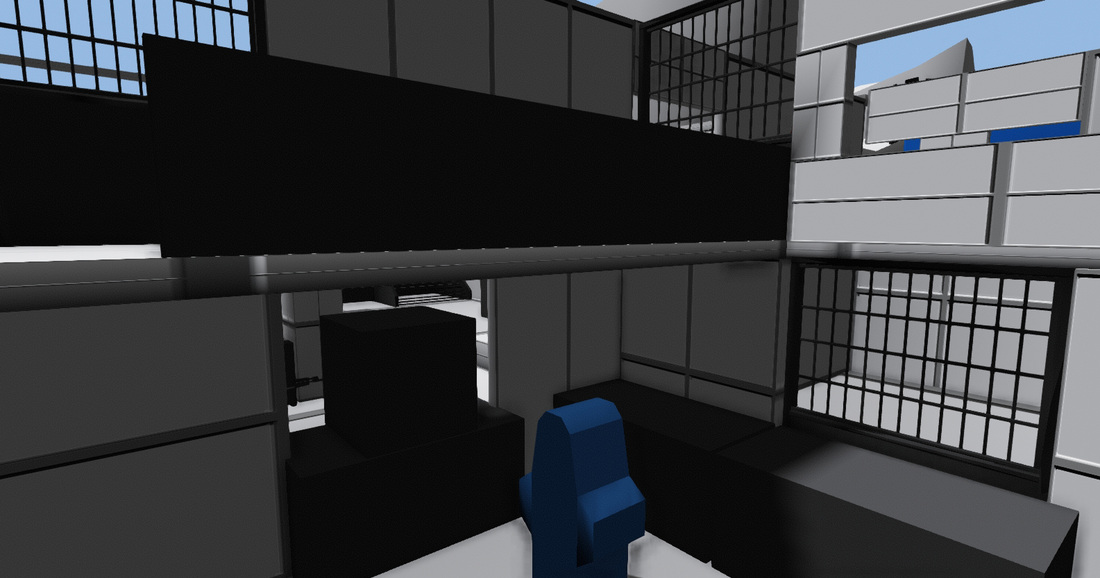
In this room the player can peak through the doorways and see that there is more areas to explore. Every possible exit is blocked by large crates and the player must find another way out.
The stairs are also blocked by a few crates. It is at this point where we teach the player to take cover on these crates and then to vault (Shift key) over them so they can go up the stairs. Once the player vaults over these crates they will land on some pistol ammo and load their weapon as they head upstairs.
Dev Note: We wanted to keep this first half of the level really linear so we can ensure that the player does exactly what we want them to do. We make sure to quickly give the player more options as they progress through the level.
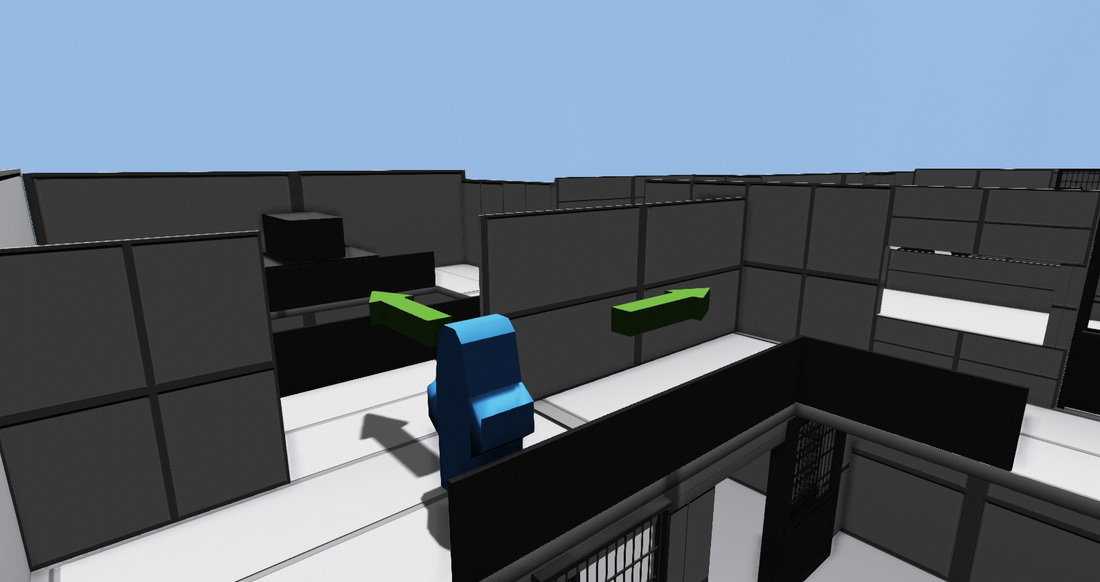
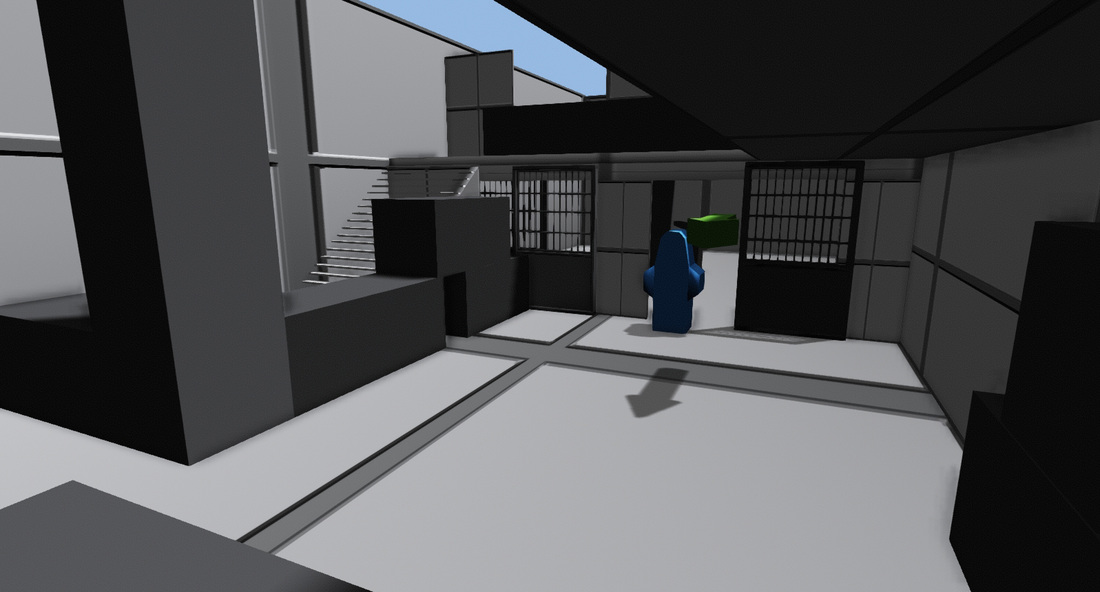
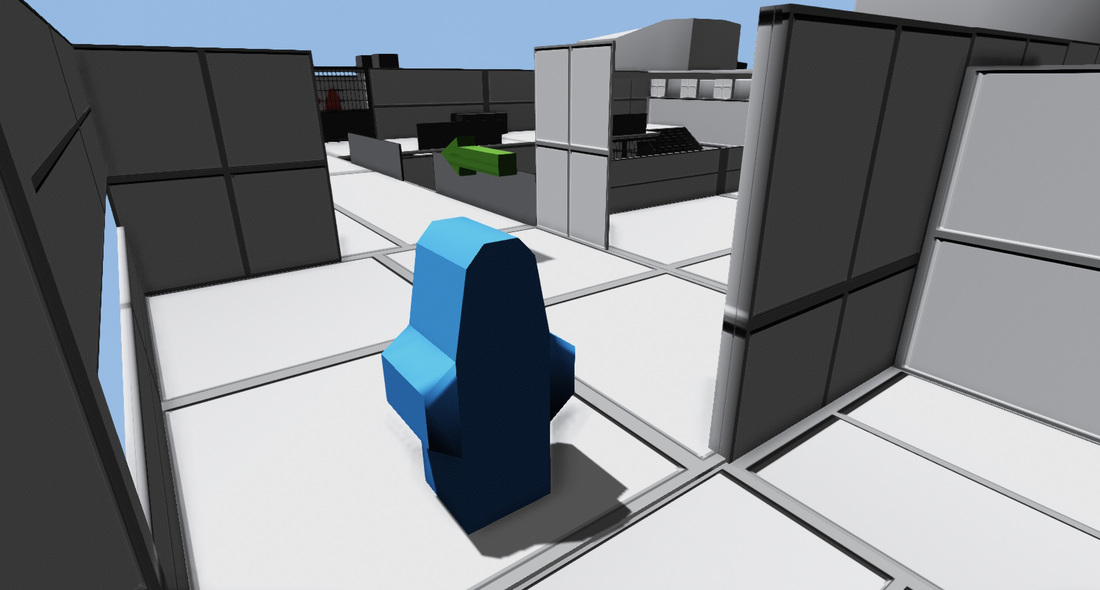
Once upstairs the player has a few options on where they can go. They can head to the left of them or to the right.
Dev Note: The ceiling in this first area is completely intact. I though that the idea of having the ceiling open up as the player is moving through the building as a subliminal message. The more the move forward the more the sky opens up until they have learned all there abilities and are free to use them however they use.
Before the player can make any decision they are confronted by an enemy that emerges from a room to their right.
The player can take cover on the railing as the enemy stands in the open and opens fire. The player is taught how to aim and fire their weapon.
The player has options and is encouraged to explore.
With the enemy defeated the player is now free to explore the second floor. They can head into the room where the enemy emerged from or they can head to the doorway. Either route they choose they will be lead into the next encounter.
The player is rewarded for exploring.
If the player heads into the room nearest the stairs they can find a crate to vault over. If they do this they are rewarded with some ammo and a new weapon.
Dev Note: Weapon caches and collectible items are hidden around the levels to help encourage exploration.
After finding the new weapon the player can continue moving forward and enter the next area of the level.
If the player decides to head to the room before the first enemy they will find themselves overlooking the next area and will find a weapon (AK-47) tucked neatly in the corner for them.
In the room with the enemy the player can jump down back to the first floor. Once the player is on the first floor they will notice that they are in the area that they couldn't reach before. If they choose they can actually open the door and vault over to go back to the room they started from.
Dev Note: It was really important for us to keep this first part of the level small and confined so we can adequately teach the player the basics of the game. As the player learns more the level slowly expands more and more so they can explore and use their abilities better.
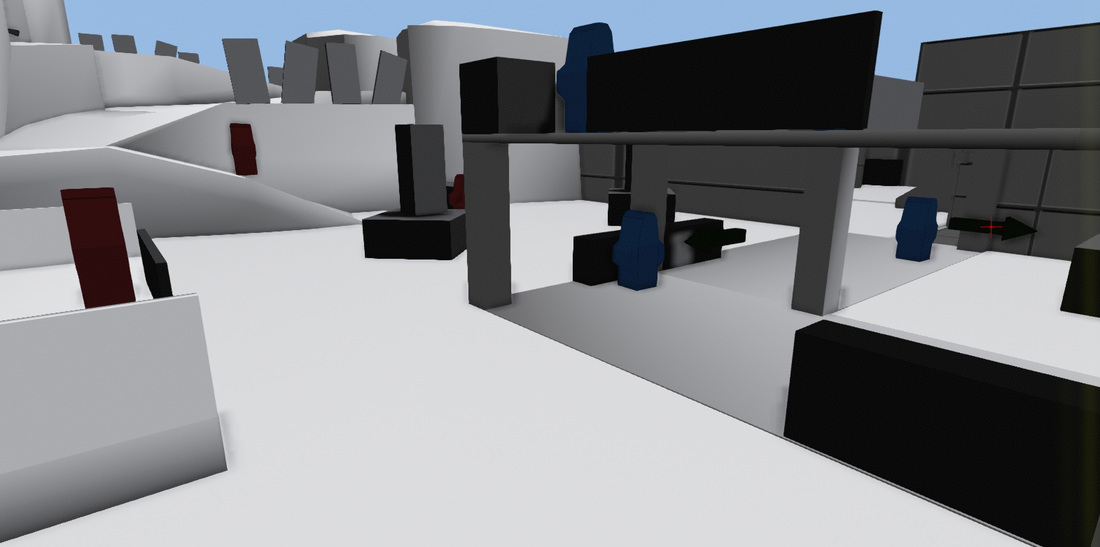
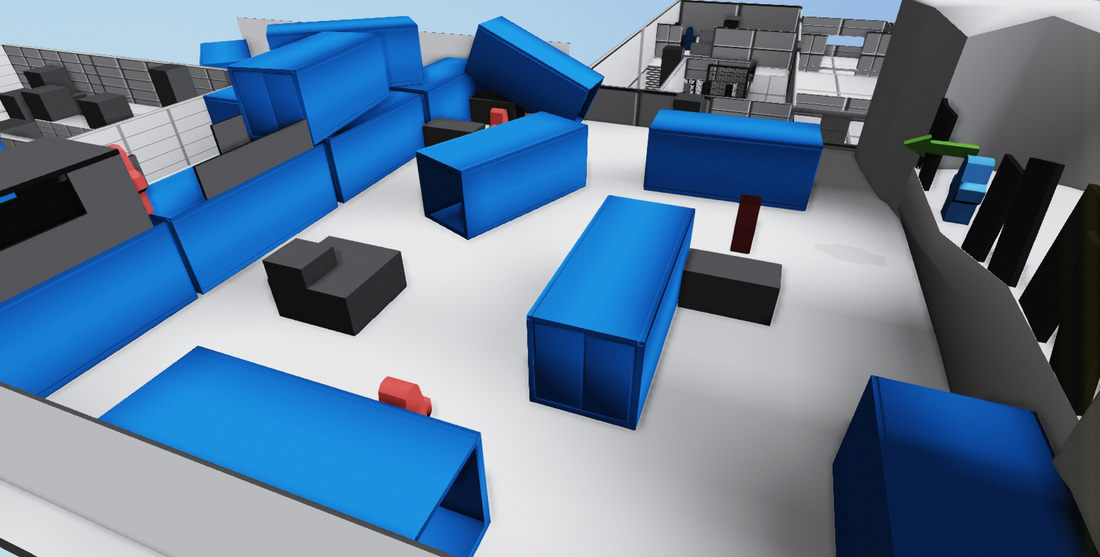
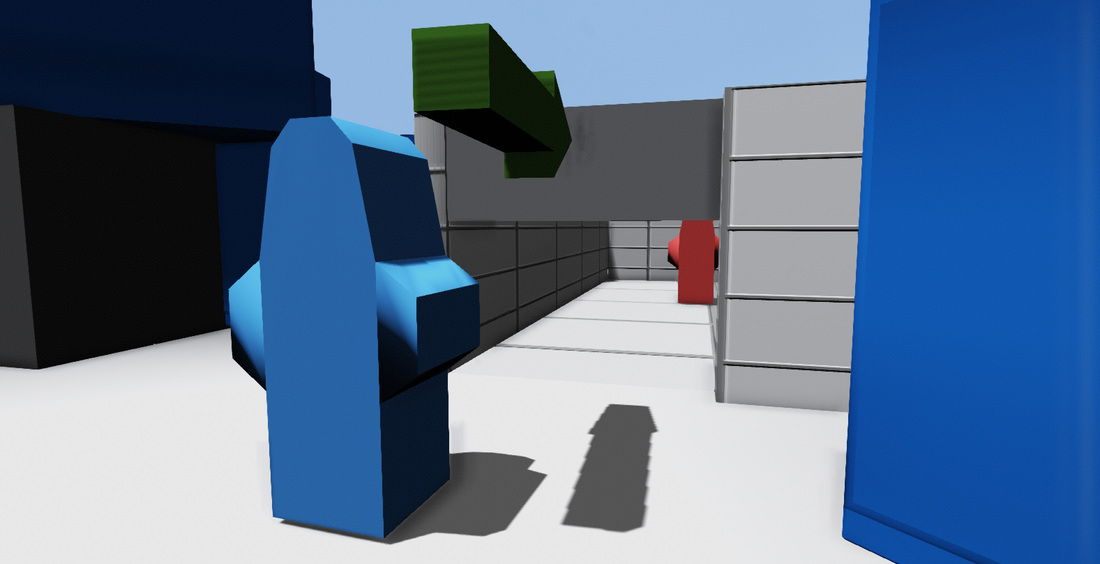
Living Room - Minute 5-10
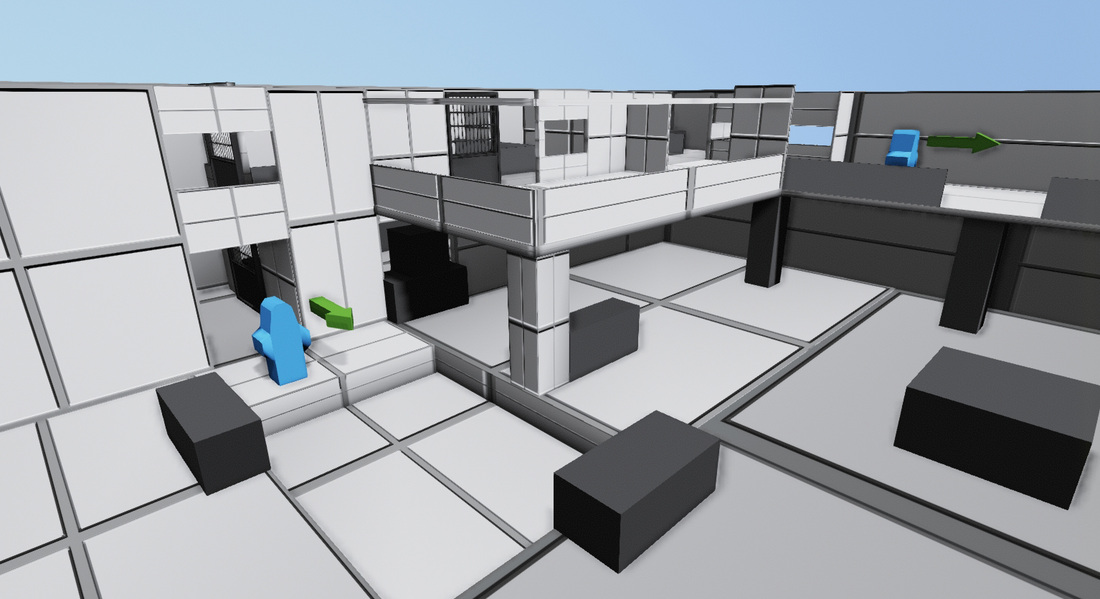
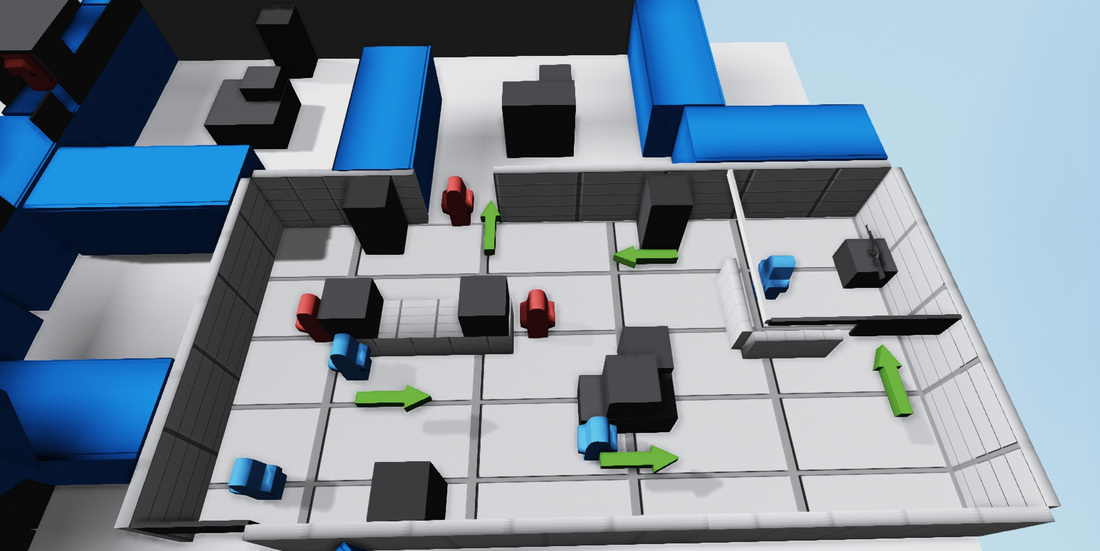
No matter which route they take the player will end up in a large living room area. This area has many varied pieces of cover spread out and it is fairly open. Many of the pieces can be vaulted/climbed. We want the player to be constantly moving on the battlefield.
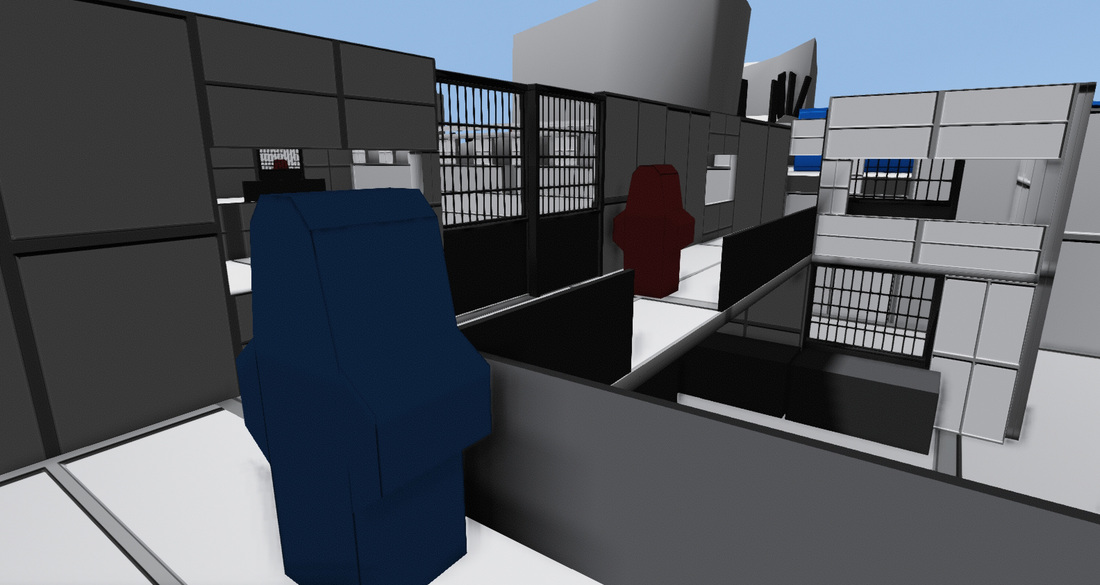
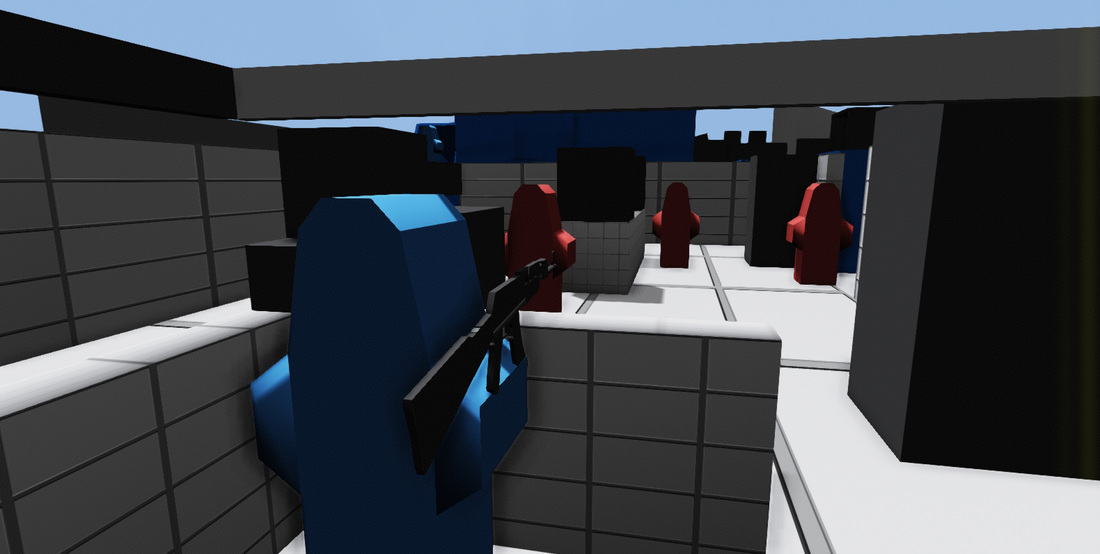
When the player enters this new area a group of enemies will enter the room. These enemies will behave much smarter and with more tactics compared to the first enemy encountered. These enemies will use their surrounding and take cover and will attempt to flank the player.
There will be a total of five enemies. Depending on where the player enters the room there may be two enemies on the second floor with three enemies on the bottom floor or vice versa.
There will be a total of five enemies. Depending on where the player enters the room there may be two enemies on the second floor with three enemies on the bottom floor or vice versa.
The player has a wide range of options to engage the enemy. If they entered from the bottom floor they can take cover amongst some of the crates and pick up some grenades. These grenades are useful when used to force enemies out of cover and into the open.
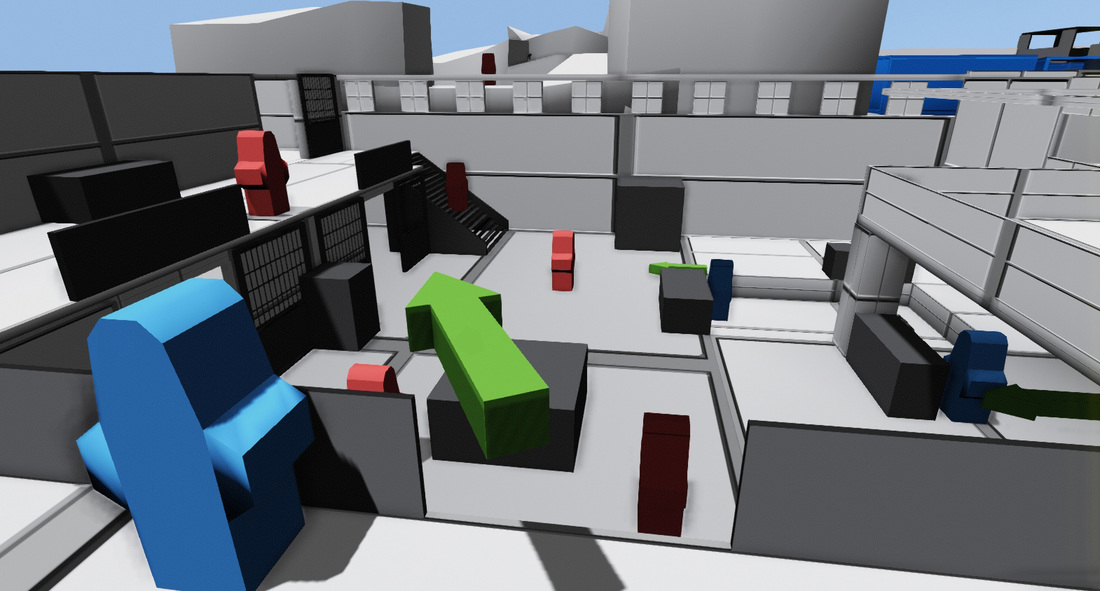
If the player took the high road they are a bit more exposed but they have the advantage of seeing where the enemies on the bottom floor are at. The player needs to be careful because they can easily be flanked and charged by enemies while they are distracted and dealing with the enemies on the bottom floor.
No matter where the player enters from they will only be dealing with about five enemies. As long as the player doesn't stay in one place too long they should be able to handle the situation and avoid being flanked.
No matter where the player enters from they will only be dealing with about five enemies. As long as the player doesn't stay in one place too long they should be able to handle the situation and avoid being flanked.
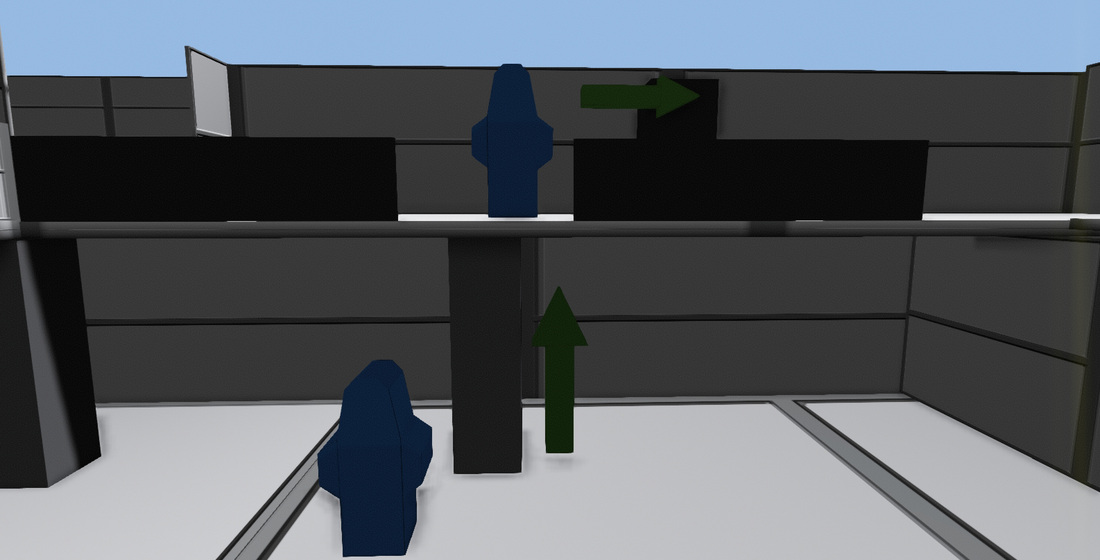
Players can climb to the second floor.
Players can use the vaulting mechanic to climb certain areas in the map. The pillars in this room are easily scalable and can allow for the player to make a quick escape. Enemy units can vault over most pieces of cover but they can not climb like the player can, so putting distance between you and the enemy by quickly climbing to the second floor can be a huge advantage.
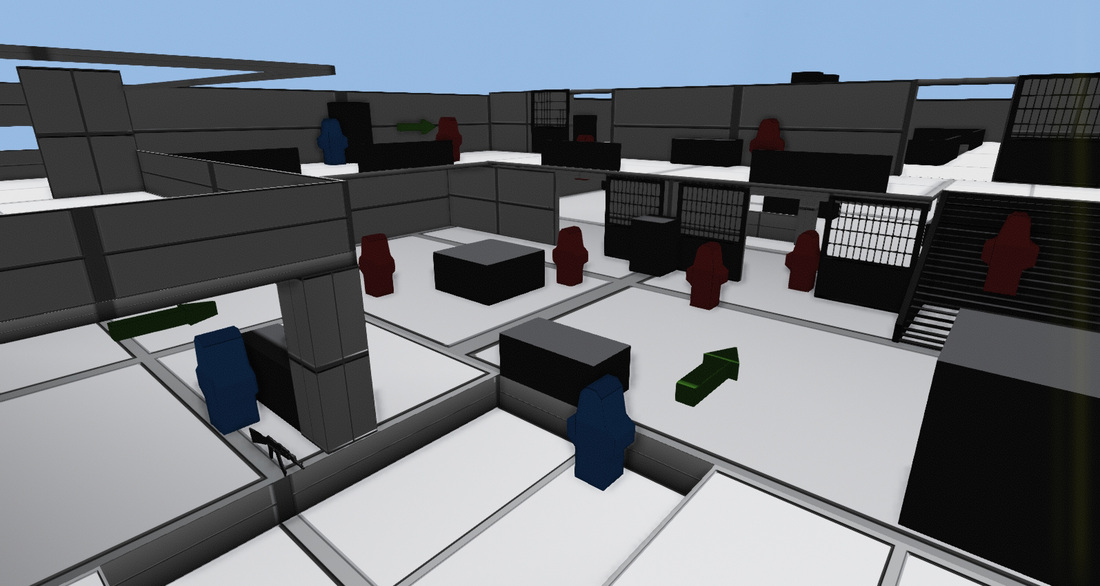
Big Room - Minute 11-15
Dev Note: At this point in the level the ceiling is only covering up half of the roof. The roof coming disappearing over the players head is a symbol of freedom, it tells the player that they have almost escaped.
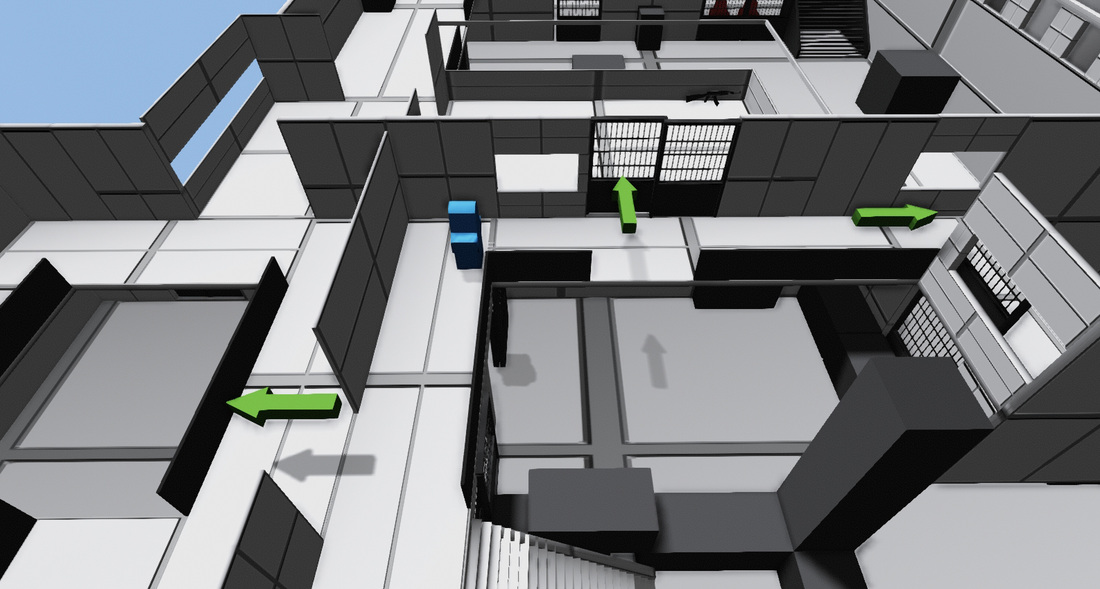
The player once again has the option to enter the next area either on the second or first floor. No matter how they enter the next area they will once again be greeted by a squad of six enemies.
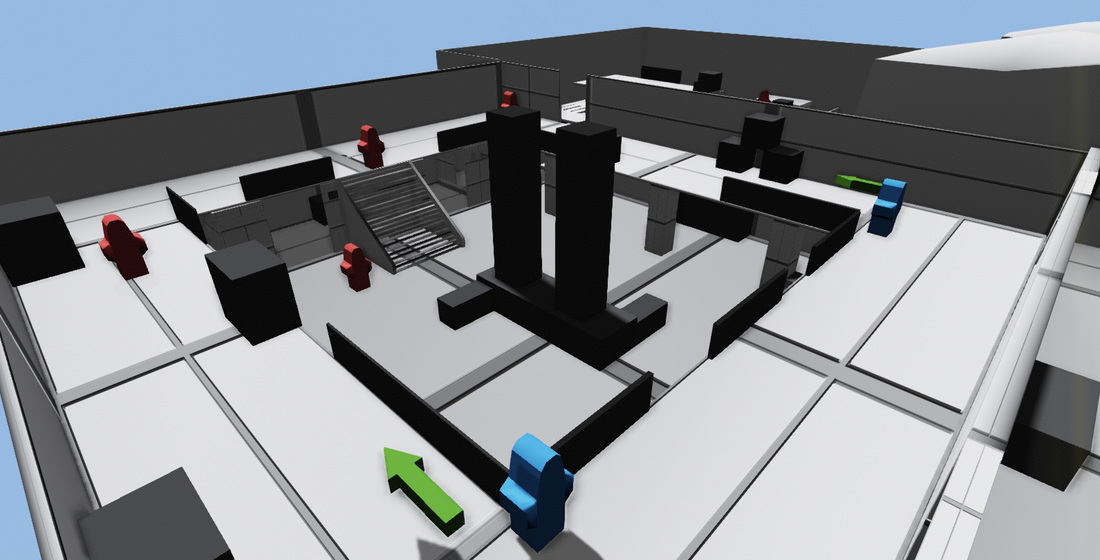
Just like before the enemies will begin to spread out and try to surround the player. If the player is on the top floor the enemies will try and come around from either side as they lay down covering fire for their squad.
From the top the player can engage the enemy from either side. Any enemy that is on the bottom floor should be easy pickings for the player. The player's main goal should be to reach the main staircase in front of them so that they can take control of the room. Atop the staircase they would have the best line of sight over the enemies in the room.

The player is not at a disadvantage if they enter from the bottom floor. They are provided with much more cover and if they are quick they can make their way to a nearby column and climb it to reach the second floor.
The key is for the player to utilize the cover. If they decide to just rush the enemies they will be surely be killed by the enemies on the second floor. The player must be smart about how they traverse through this level. In other words, if the player took the high route they are taking a more aggressive role and if they took the low route they are taking a more defensive role.
The key is for the player to utilize the cover. If they decide to just rush the enemies they will be surely be killed by the enemies on the second floor. The player must be smart about how they traverse through this level. In other words, if the player took the high route they are taking a more aggressive role and if they took the low route they are taking a more defensive role.
From the top of the stairs the player is now in a dominant position and can pick off any stragglers left in the room. Once the room is clear the player can proceed onto the next area. There are two ways to get to the next area, there is a crack in the wall on the second floor that will lead onto the roof of a patio and there is the doorway on the bottom floor that will lead the player toward the outside of the level.
Patio - Minute 16-21
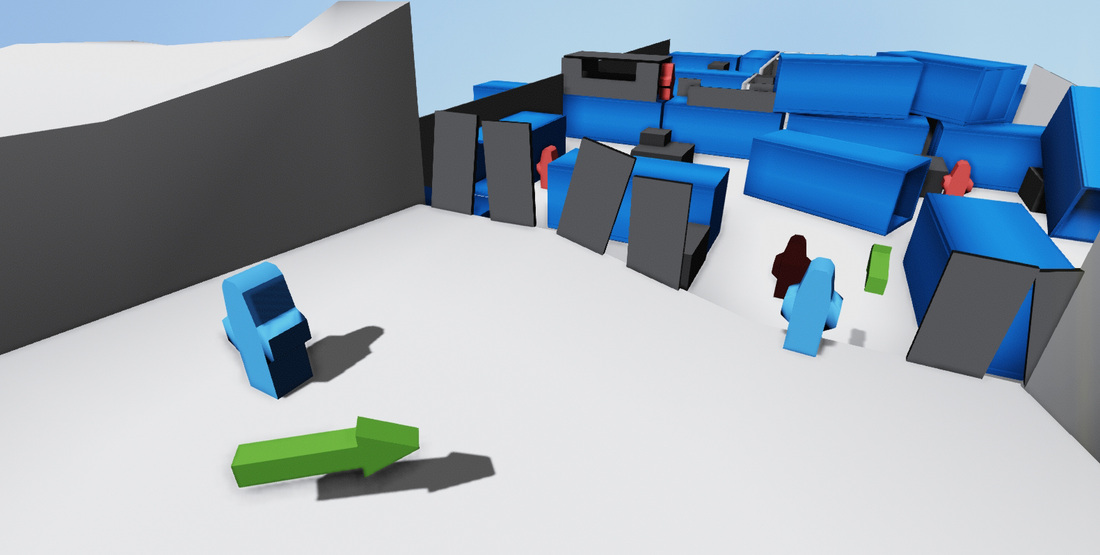
The patio is a very wide open area that has a good mix of open space and readily available cover pieces. The goal for the player is to proceed to the jungle path and try to find a way to escape. This won't bee an easy task as another small squadron will be waiting for the player.
The player as always is give a few options on what they can do. They can rush out and find some cover and immediately engage the enemy or they can climb one of the columns and attack from an elevated position. There aren't too many enemies and depending on how much of a commotion the player makes he shouldn't attract any back up.
From a safe position the player can make quick work of the enemies that wander into this area. Unlike before the player is more than welcome to take a more active role and rush the enemies in this area.
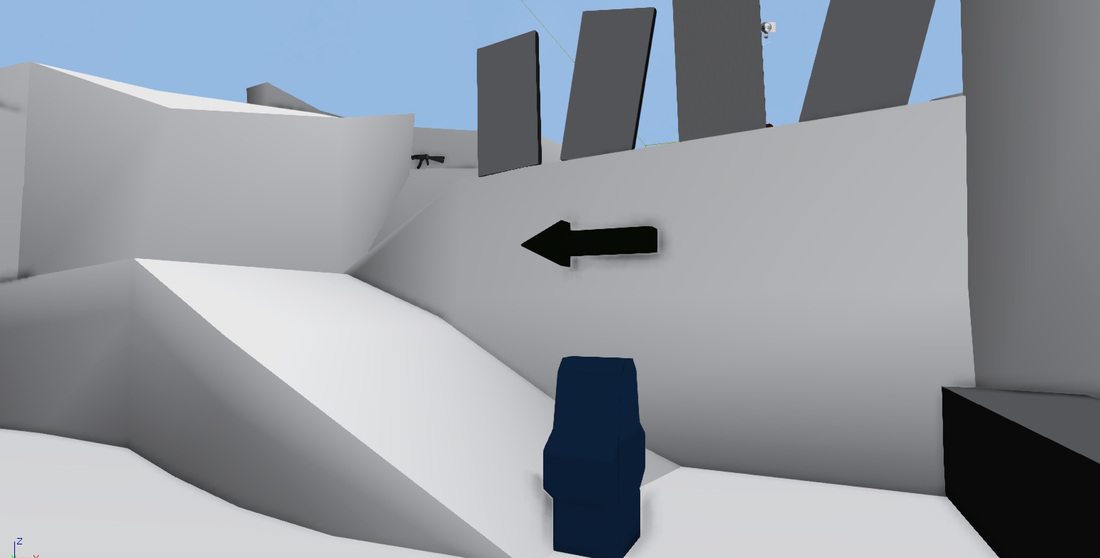
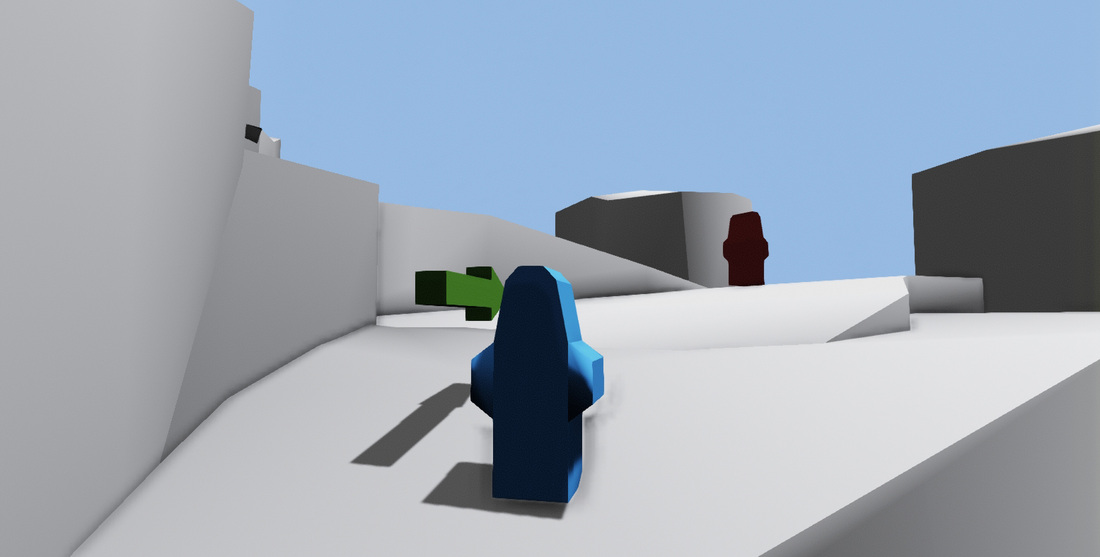
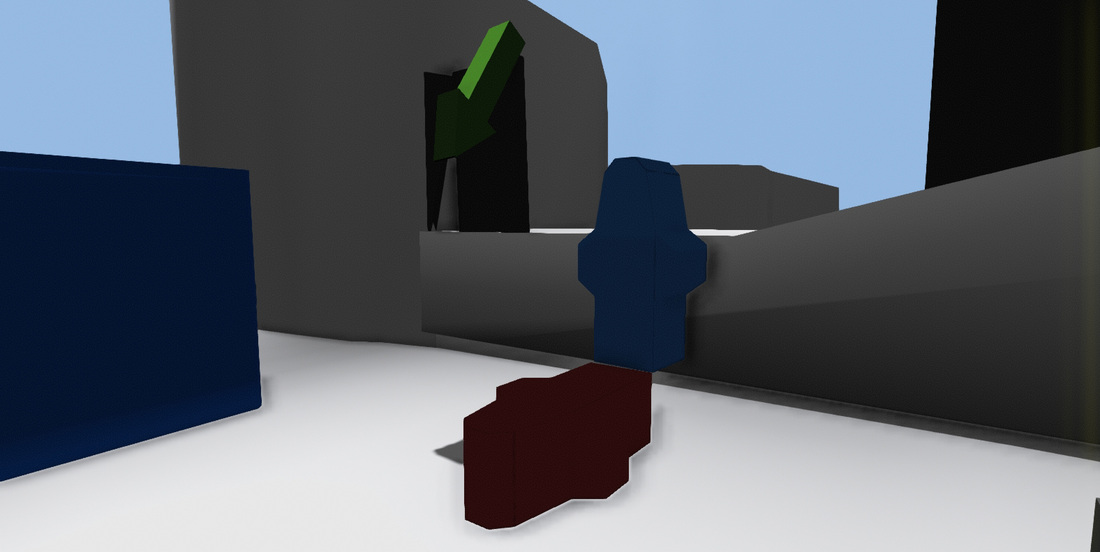
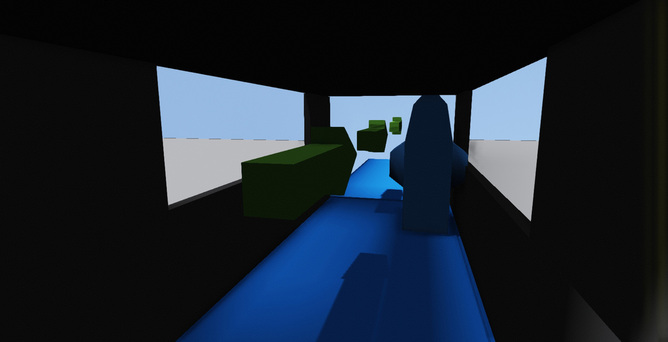
Hill/Jungle Path - Minute 22-24
The entrance to the jungle path.
With all the enemies defeated the player is free to advance to the next area.
While venturing up the short jungle path the player will come across a lone enemy patrolling the area. It is here where we give the player the option to use stealth to take the enemy out. The player would be told to stay out of the enemies line of sight by hiding in the bushes on either side of the path and then instructed to stealth kill the enemy as he passes.
This is a completely optional thing for the player and the player is not punished here if they decide to just shoot the enemy.
This is a completely optional thing for the player and the player is not punished here if they decide to just shoot the enemy.
Dev Note: With all the art assets in place this area would be engulfed in very thick jungle and would allow for the player to hide in the plants to avoid enemy detection.
The player sneaks up on the unsuspecting enemy.
Dev Note: The player has a few stealth take down options. They can quickly choke there target eliminating them or take them as a hostage. Dead bodies can't be left in the open else they will attract attention and alert all nearby enemies to you.
If the player backtracks they can find some weapons and ammo.
Aside from the single enemy in this area there isn't much else for the player to focus on. The path ahead is clear and it leads right into the next area, a shipping yard. The next area will allow for the player to fully utilize the stealth mechanics.
Shipping Yard - Minute 25-29
The shipping yard.
The shipping yard is where we will strengthen and reinforce the stealth mechanics. The stealth option is completely optional and if the player chooses they can enter this area guns blazing.
Dev Note: It was crucial to make every area that could be stealth also capable of being combat. We didn't want to force anyone to play a certain way. The best thing is that you can alternate between stealth and guns blazing whenever you like.
Take the guard out with a flying stealth kill.
One way to deal with the first patrolling guard is to wait for him to walk near the ledge and when he is within range the player will be given the option to do a flying stealth kill.
Dev Note: The flying stealth kill can be done whenever the player is in an elevated position over an enemy. It can be done in the middle of a combat scenario but it will leave the player exposed for a few seconds until they can get back on their feet.
When the player enters the shipping yard they need to use the cover to stay hidden. The player needs to make it to the shipping container that is propped up in the back. The player can easily sneak past the guards or stealthily take them out without alerting anyone in the area.
Be sure not to alert the guard watching over the yard!
When the player sneaking around the yard they need to be extra careful not to alert the guard in the makeshift watchtower. The player will need to time their movements and keep any defeated enemies out of the guards line of sight. If the player decides to go guns blazing they need to be careful to not be caught out in the open by the watchtower.
Dev Note: When an enemy is killed there body can be dragged away to be hidden. When you are dragging a body you are completely vulnerable to attack. It might be wise to take people hostage (human shield) and walk them to a secure location.
When the player safely crosses the shipping yard they will reach the last area of the level.
Storage Room - Minute 30-34
You enter crouched and ready to stealth kill the first enemy.
The storage room is designed with stealth in mind, but here we want to teach the player to take an enemy as a humans shield. Taking a human shield is a great tactic, you can use that shield in a moment where you don't have any cover or as a means to take a enemy to a safe distance before killing them.
The player is forced to enter the storage room in a crouching position. This is done so they are already ready to take stealth take down the enemies inside.
The player is forced to enter the storage room in a crouching position. This is done so they are already ready to take stealth take down the enemies inside.
The player is in a small confined room, they need to make it out alive and they have a few options on how they could possibly escape.

Sneak over to the fortified position.
The player can just start shooting but that would be foolish. The best thing for a trigger happy player to do is to find a safe place to ambush the enemy. If the player sneaks around to the right side of the map they can find a well fortified area with a shotgun.
Sneak around and go guns blazing!
Once they are in place they can make quick work of their enemies. The player doesn't need to go this route, they can just open fire as soon as they enter but that leaves them at a disadvantage. You can easily be spotted by the guard in the doorway and he will call you out as soon as you're spotted and by the time you can fire off a shot the other two guards are on you.
I wanted to create an area where it rewards exploration. Sure some players might be able to take out all the guards no problem but I don't want to necessarily encourage the "shoot first" mentality. If the player wants to go guns blazing that is fine, I just want them to think, to set up ambushes and find the best locations to really get a jump on their enemies.
I wanted to create an area where it rewards exploration. Sure some players might be able to take out all the guards no problem but I don't want to necessarily encourage the "shoot first" mentality. If the player wants to go guns blazing that is fine, I just want them to think, to set up ambushes and find the best locations to really get a jump on their enemies.
If you decide to go the stealth route the first thing you need to do is take out the guard nearest the door. The player needs to remain crouched so the guard patrolling the doorway doesn't spot them. Slowly and methodically the player needs to eliminate the second guard and carefully sneak outside to wait for the third guard.
The second guard is a bit of a tricky one to eliminate. If the player attempts to take him out he may be spotted by the third guard. It is best advised for the player to take the second guard hostage and walk them away behind some crates and then eliminate him. This way the third guard wont walk in on you trying to strangle the second guard.
The second guard is a bit of a tricky one to eliminate. If the player attempts to take him out he may be spotted by the third guard. It is best advised for the player to take the second guard hostage and walk them away behind some crates and then eliminate him. This way the third guard wont walk in on you trying to strangle the second guard.
With the guards eliminated the player's only distraction is the final guard in the makeshift watchtower. The player can sneak past him when he isn't looking and climb up and take him out or they can engage him in a gun battle. If the player has already eliminated him from before than the only thing the player needs to worry about is climbing up the shipping container to escape.
End of level.
The player climbs up to the makeshift watchtower and exits the level. With that the first level is complete and the player has used every single ability they have been given. The next level would have been a jungle environment that would once again give the player plenty of options on how they take out their enemies.
- Danny Q
@Dannylv100
@Dannylv100


 RSS Feed
